Best Practices: Preparing Your Logo for Your Website
June 2nd, 2014
For professional photographers, using a logo on your storefront website is important for the presentation of your business and for branding purposes. Preparing your logo for your website can be a little confusing though, especially when it comes to creating new types of files that photographers don’t typically use, or determining the correct size to upload.
In order to assist with any questions that might come up in the process of preparing your logo for your website, I have pulled together some information that may be helpful, whether you are creating the logo yourself or working with a graphic designer who is designing the logo for you.

Here are the standard types of logos with a little more information about where they are used and why they are special:
Favicon – A favicon, also known as a web browser icon, is a small custom icon displayed next to a site’s URL in the address bar or on the tab of the window (depending on what browser you are using). The icon is also often used in bookmarks and Internet shortcuts on your desktop. The size for this icon is strict for all sites and must be uploaded at 16×16 pixels. Because this is such a small amount of space, it is best to use a simple graphic rather than your entire logo.
Homepage Logo – The homepage logo is only used on the homepage for a strong storefront presentation. Using a larger logo on your homepage and then a smaller one on the rest of your pages will allow your customer to feel like they have arrived at the correct location and will keep their focus on your amazing work throughout the rest of your site.
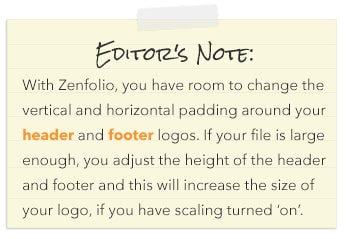
Header Logo – The header logo will be displayed in the header of all of your website’s pages. Using a header logo on your homepage as well is a good way to make sure all the pages on your site have the same logo position and size so they look uniform.
Footer Logo – The footer logo will be displayed in the footer of all pages. This placement is great if you are embracing a more unique layout and want to showcase your logo on the bottom of your site.
Mobile Logo – The mobile logo will show for your visitors who view your page on mobile devices.
Embedded Video Player Logo – With videos you have uploaded into your Zenfolio site, you have the ability to generate a code that will allow you to embed these elsewhere on the web. The embedded video player logo allows you to brand videos that you present on external sites. However, this logo will not show up on your Zenfolio pages.

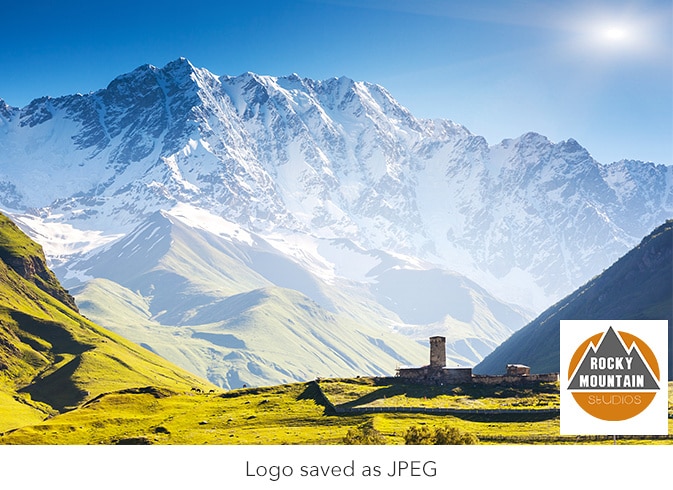
Without transparency, the entire logo appears to sit on top the page in the shape of your original file because of a solid color appearing in the negative space. This tends to look rectangular in shape with a white background and is how your logo would look if it saved as a JPEG. You can save TIFF, GIF or PNG files with transparent backgrounds.


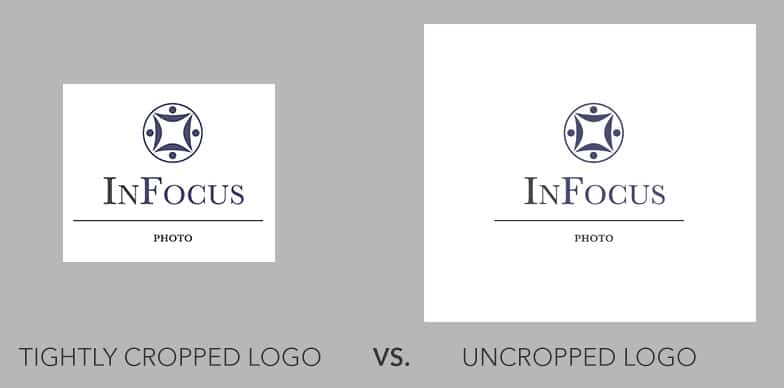
In order to maximize the size of the logo in any given area on your site, it’s best to crop excess information out of the file before saving it. This is especially useful for logos that need to fit in smaller spaces.


Laura Hall not only helps Zenfolio users with their websites, she is also a product specialist and photographer with a strong color management and digital photography background. Before migrating to California to join the Zenfolio team, she helped to implement color management systems for digital photography programs, wrote educational and technical materials and provided consultation services on color management and printing. To see some of her current photography projects in the works, please visit: https://www.lauraswork.com


