Photography tips every aspiring food photographer needs to know.
Food photography falls under the still life photography category and is all about finding aesthetic and creative ways to showcase food. Food photography is also a type of commercial photography as it is used in advertising, menus and cookbooks, and magazines, and is relied on heavily for social media promotions.
For anyone who is a foodie, or someone who loves to be involved with the local restaurants in their community, there is space for you as a food photographer. To help you set yourself up for success in the world of food photography we’ve compiled these top tips and tricks.
14-day free trial. No credit card required.
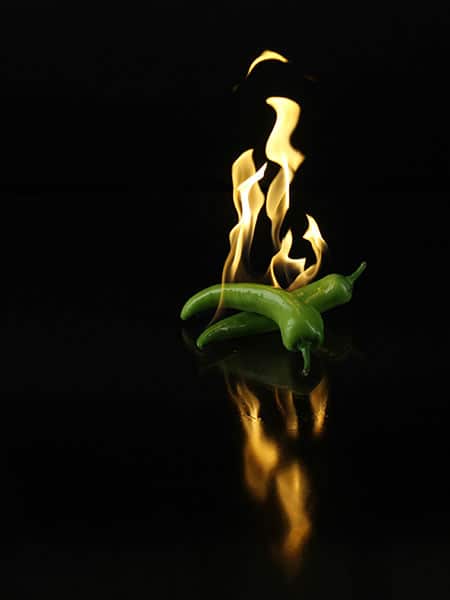
How to shoot food photography: techniques for beginners.
One important thing for you to remember when you are working in food photography is that a lot of the time the food in the shot isn’t actually edible. This of course depends on your approach and the kind of photography you’re doing. The aim of food photography is to get the food to look delectable. In some situations that means you’ll be using things like fake ice cubes or using techniques to make food look fresh and hot like it’s supposed to while allowing enough time to properly style and photograph the food. Also, keep in mind food composition is an important part of your job as a food photographer.
Food photography composition.
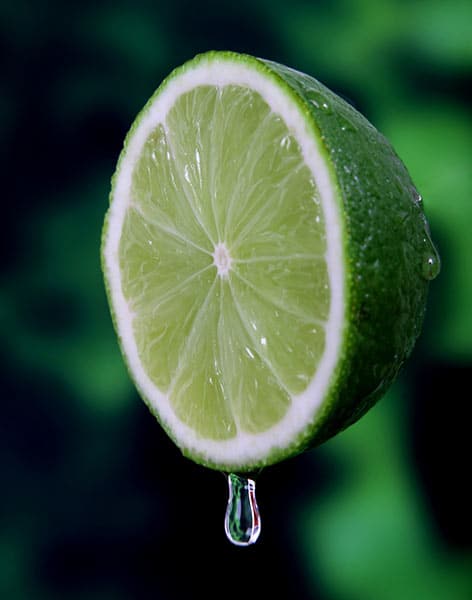
1. Lighting: Learning how to set yourself up with proper lighting is an important skill for any beginner food photographer to develop. Always consider what kind of light will be best for your shoot. Natural light is always flattering, but can be unpredictable depending on the weather conditions. Make sure you are set up and comfortable using artificial light such as continuous lights, strobes, and light modifiers like softboxes and diffusers to soften the light that is hitting the food.
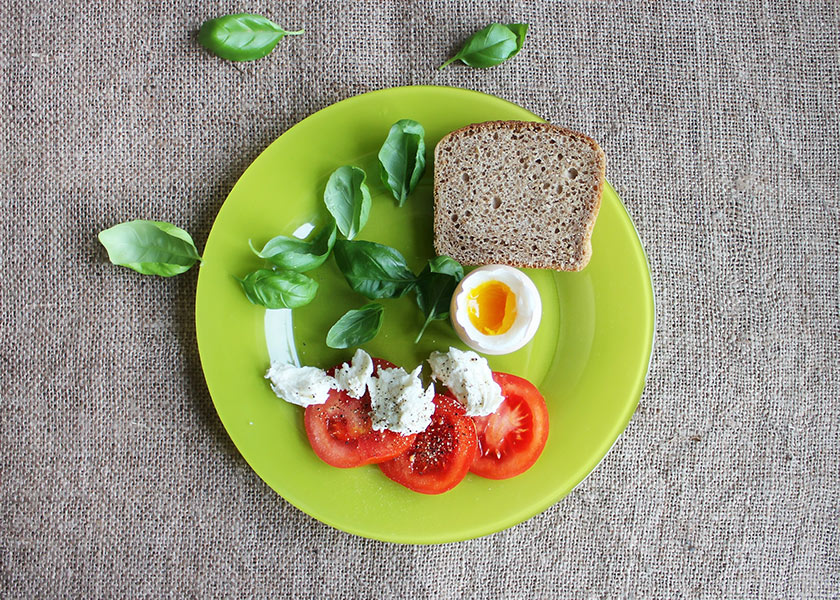
2. Style the food: This is an important step for having the proper composition of your food for a shoot. Food stylist is its own job and you should be comfortable working with stylists and communicating your vision so that you’re working together to achieve your final look. There won’t always be a food stylist on set so it is good to get comfortable with adding your own ideas and bringing them to life. The biggest thing for any beginner to think about is making sure that the food looks appetizing – it doesn’t have to look perfect, it has to look like someone would want to eat it.
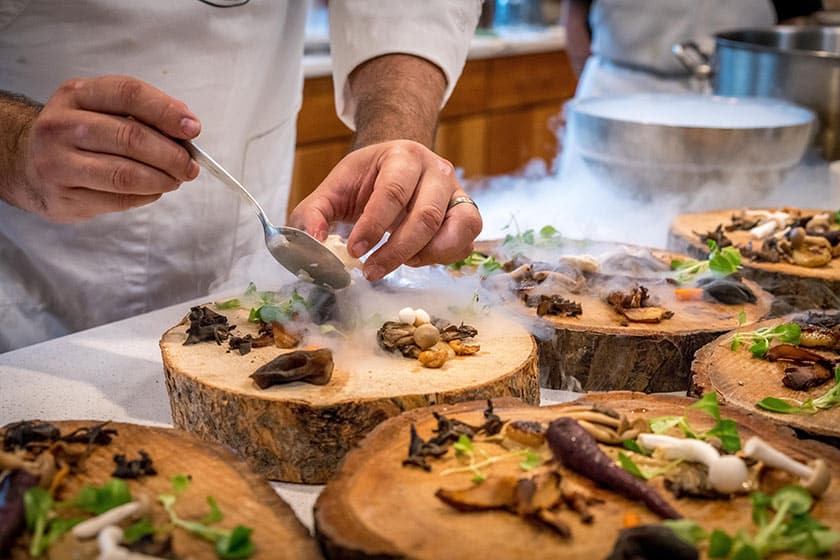
3. Choose your location: The location of your photo shoot is an important part of the styling of your shots. Essentially, you are going to want to make sure that the location of the shoot makes sense with the type of food. For example, depending on the type of food – whether it is Indian, Mexican, Mediterranean, Italian, etc., – you might want to incorporate some props that enhance the theme. Think about where and how the food you’re photographing is typically eaten.

4. Work the angles: Playing with angles will help you ensure you get the perfect shot. Work the angles of up and down, side to side. Take into consideration how the light is falling on your subject and how you can maneuver to make the most of the light, and also capture an interesting perspective. Make sure to shoot lots to get as many snaps as you can during the shoot.
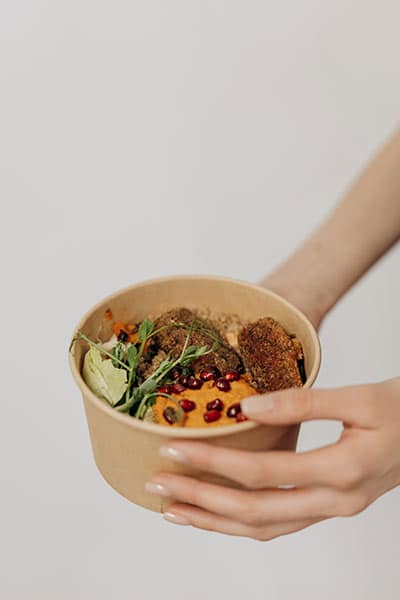
5. Watch for harsh shadows: Piggybacking on the lighting and angles conversation – make sure that you haven’t created any harsh shadows within your shots. It’s an easy misstep for a beginner food photographer to make. The issue with these harsh shadows is that they often affect the coloring and the texture of the food – two really important parts of the look of the food that help bring it alive. It can also be challenging to try and fix those shadows in post-production. Of course, there is a time and place for the use of high contrast, and hard shadows.
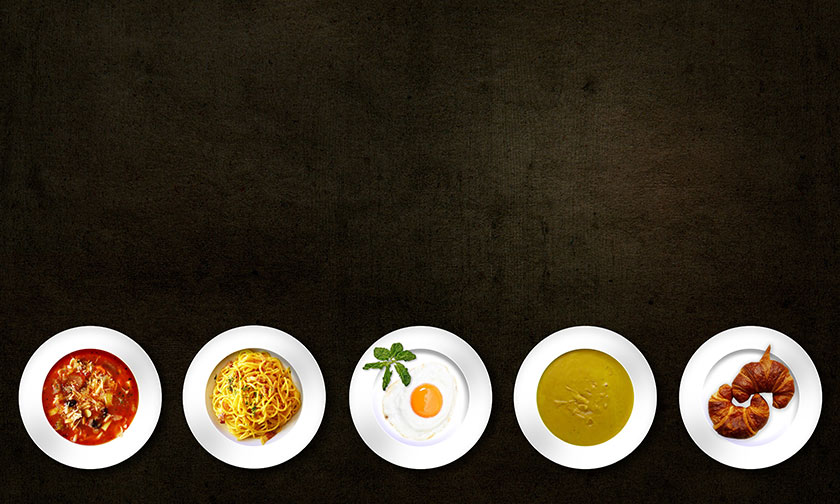
6. Go minimal: One of the common mistakes for beginners is to add too much to a scene, creating an image that is too cluttered. The point is the food, so while you may want to add props or garnishes around it sometimes that could end up being the biggest mistake. To help limit this try planning your shoot ahead of time. Sketch out what you want to include and remember that sometimes less is more. Your final photographs will often look less cluttered, more minimal, and more appetizing.
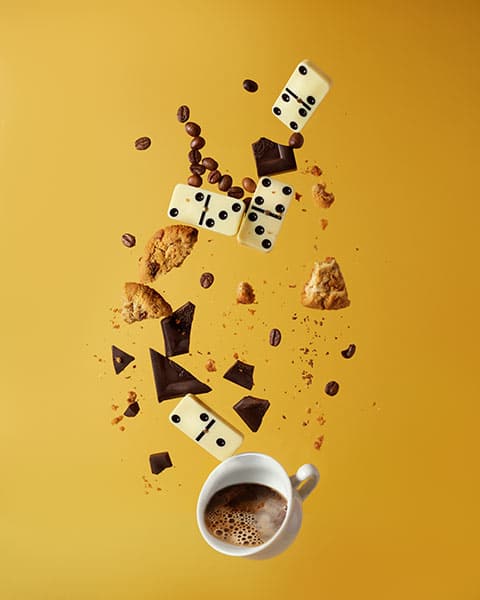
7. Edit, Edit, Edit: Finally, don’t underestimate the amount of work that goes into the photography food session after the photos are taken. This is where the real work begins. Learning how to properly color balance your images will really take your images to the next level. You’ll want to make sure that textures and colors are maximized during the editing phase. Expert editors can also play with the composition by taking things out of the shot or adding things in. You can also make composite images with different elements to create a final composed shot.
Food photography backgrounds you likely have at home.
Backdrops for food photography shoots are all part of the creative process of taking the best food pictures. You want to make sure that your backgrounds aren’t too boring and that you’re switching them up so they aren’t the same for every photo shoot, but as a beginner food photographer, you also don’t want to be spending a fortune on backdrops. You can take some stunning food photos by using backgrounds you already have around the house. Here are some great ideas to get you started:
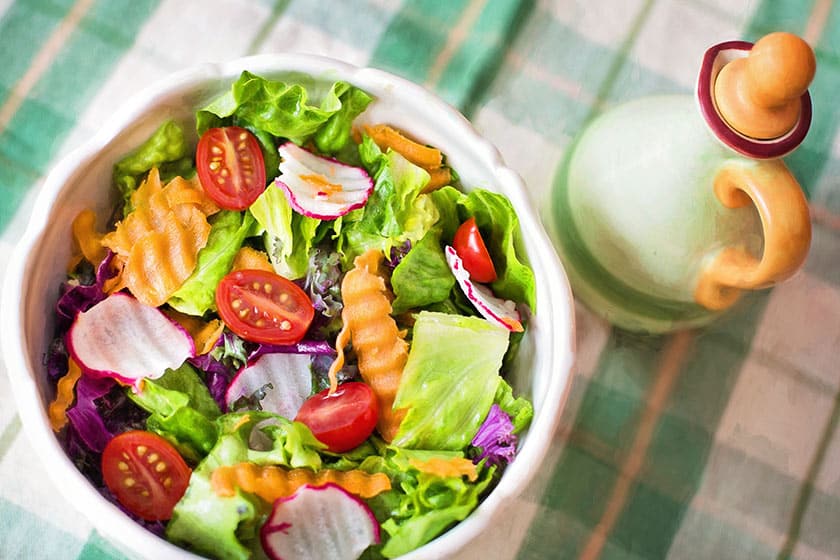
Tablecloths.
Tablecloths are one of the best and easiest items to use as a food photography backdrop. One of the best things about tablecloths is that they are so versatile – you can get so many different colors and patterns that will fit the styling of your food photography shoot, whether solid color, buffalo plaid, or textured. Use caution when choosing bold or bright colors, as they can sometimes distract from the food that you’re photographing.
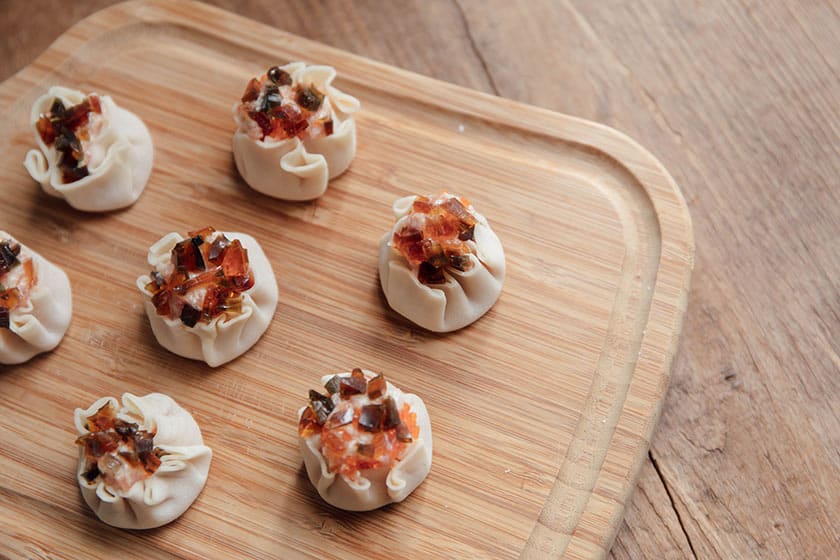
Wooden boards.
If you have wood cutting boards or wood boards used for serving food then already you have a perfect background for your next food photography shoot. Cutting boards are easy to transport if you’re shooting on location. They also create an organic and familiar backdrop for your images. You can also style your scene and bring the board outside or have it with you inside the restaurant or studio.
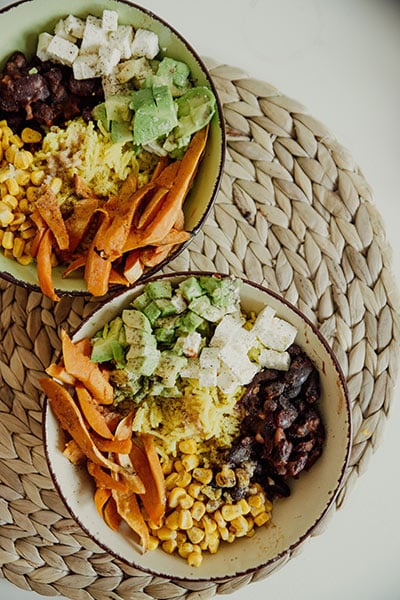
Placemats.
Similar to tablecloths, placemats are another simple and effective food photography background. They are also inexpensive – great for a photographer just getting started in the industry! You’ll be able to collect a number of different background options, just by having different placemats. Consider getting different kinds that match different cultural or seasonal food that you may be photographing. If you don’t have any lying around your house, consider keeping your eye open at thrift stores or buying some inexpensive placemats online. You can sometimes find really interesting ones with good textures.
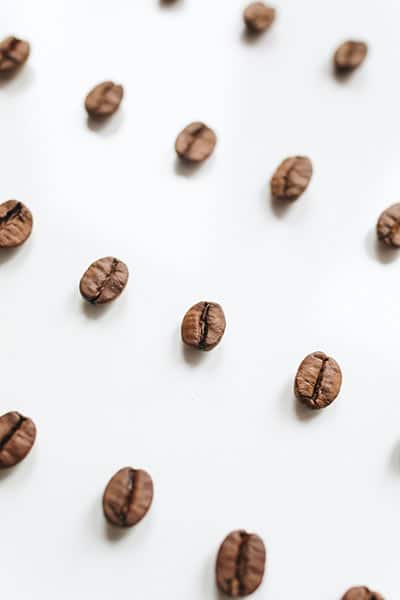
Countertops.
It can’t be this easy right? Utilizing countertops as your food photography background can sometimes be perfect. Now, there are so many interesting and chic countertop options so it leaves a lot of room for photographers to play when it comes to photographing food. Set the stage using the style of the countertops. As you move outside of your home and grow as a food photographer, you can also look to get small countertops samples to be able to carry around and use as a traveling backdrop.
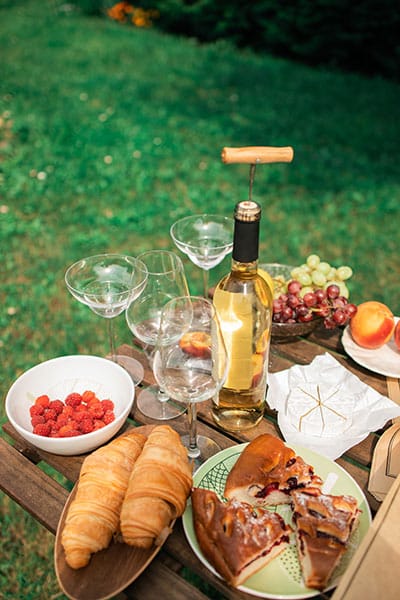
Outdoor tables.
If you have access to outdoor tables consider using them for your next food photography photoshoot as your background. Outdoor tables can be an interesting backdrop as you’ll sometime find wooden tables, things like picnic tables, where the texture of the wood will make an excellent food photography background. Once you add more props to your backdrop, like serving utensils and napkins, you’ll be cooking with fire. Also, using outdoor tables that have an opaque glass top also makes for an excellent food photography backdrop.
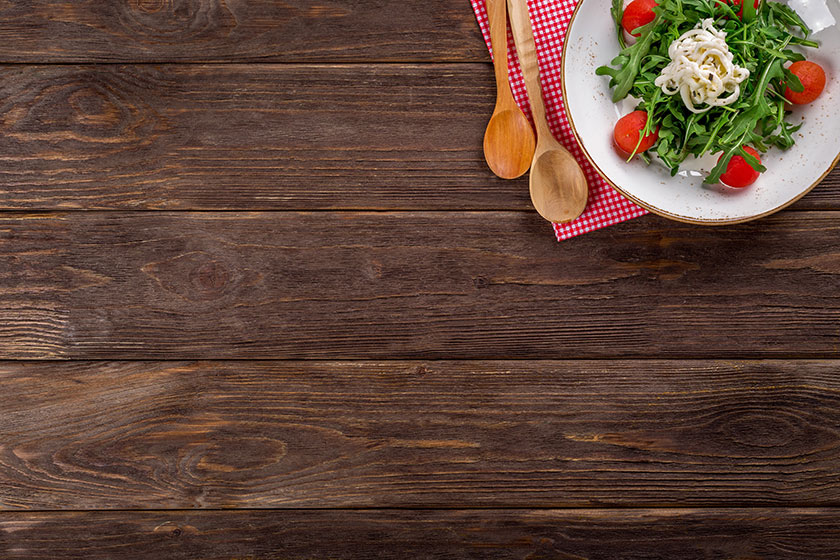
Textured flooring.
I know we are always told not to put food on the floor, but when it comes to food photography sessions you can make backdrops out of almost anything if you are creative enough! Using tiles and different kinds of wood or laminate often makes for really great food photography backgrounds. Make sure that the floor is not too shiny and that you have a large enough space to work with. Try focusing on flooring that is color neutral.
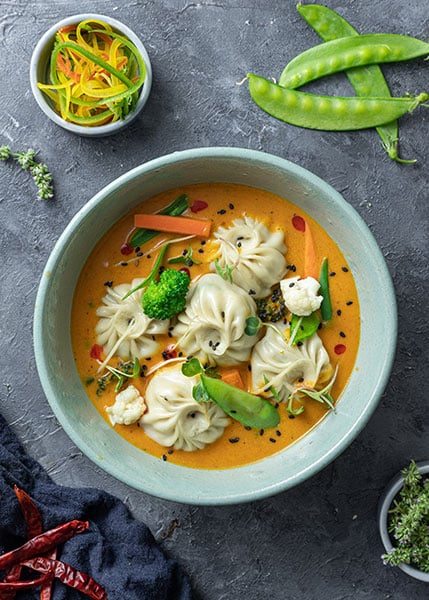
Concrete surface.
Using concrete as a backdrop in your food photography session is a great solution for any shoot – the warm gray tones and the organic textures will add an interesting and dynamic surface for the food that will accentuate it while keeping it as the focus of the photograph. If you have concrete in and around your house, whether that is on the floor or somewhere on the outside of your house then take advantage of it.
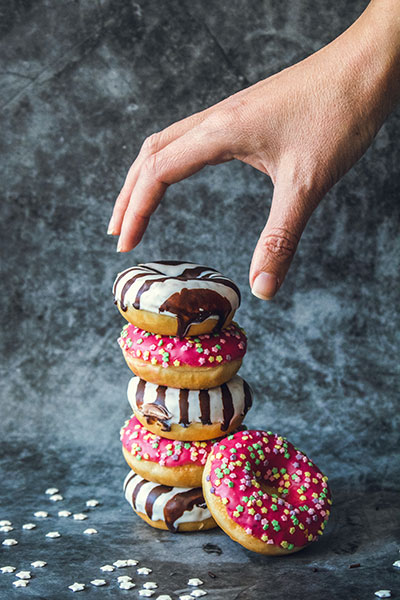
DIY backdrop.
And of course, there is always the option of creating your own backdrop from scratch. You can use construction paper or bristol board to make interesting backdrops for your food photography. This is an easy way to create a seamless background. You can also use wallpaper or download and print lots of different patterns or textures. If you’re feeling like that’s not enough you can also get crafty and apply different materials like paint, or plaster, to a surface and create your unique, bespoke backgrounds.
Food photography lighting: four easy setups.
Lighting will play an important role in allowing you to get the delicious pictures you need for your food photography session. Having proper lighting will be the difference for you in getting the right shots you need – editing can only do so much. We always recommend getting it right in camera first.
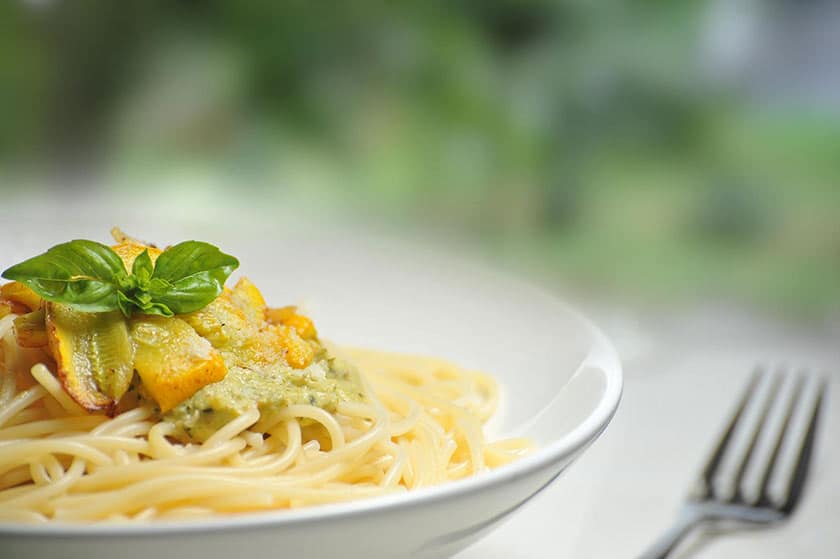
Natural light.
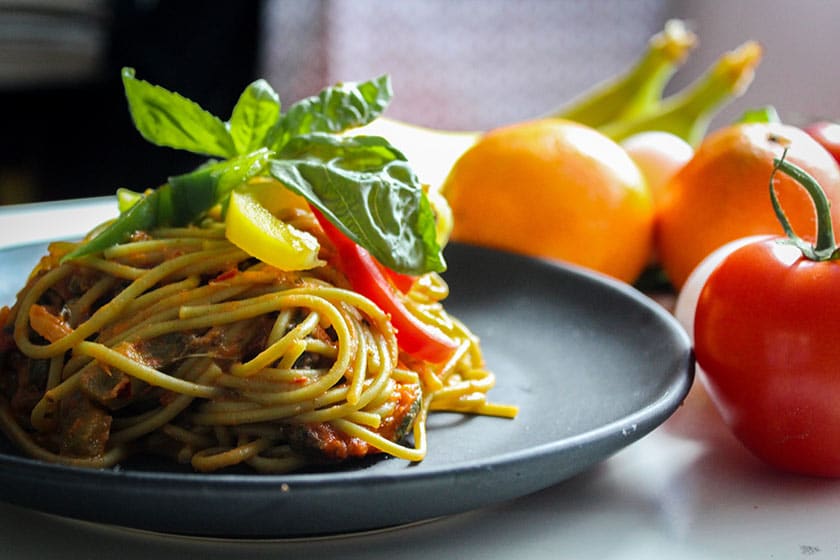
Using natural lighting in a photo shoot is always a good idea, but it can be unreliable as you never know exactly what you are going to get. Having direct sun, one that is very strong or directly above the subject is usually not ideal as it creates hard shadows and it can be difficult to control the exposure. The best type of natural lighting is when it is mildly overcast or the sun is lower in the sky. If you can get near a bright window where the sun is not directly beaming in then you are in the perfect situation for your food photo shoot. You can also use a white curtain over the window to diffuse some of the sun while still benefiting from the light it casts, giving you a soft, attractive light.
Side light.
Having your food photography set up with side light is a great option for your next shoot. When using side light, your light source is placed directly beside whatever object you are photographing. For example, if you’re using a window as your light source place the food next to the window and shoot perpendicular to the angle of the light so you get a nice side light. Always remember, people’s eyes are drawn to areas of brightness. Side light can also bring out different textures and create a certain mood for the shot – seeing those textures is really important when it comes to food photography. A common setup in food photography is having your side light coming in from your left and using a reflector or light card on your right side to fill in some of the shadows.
Backlit.
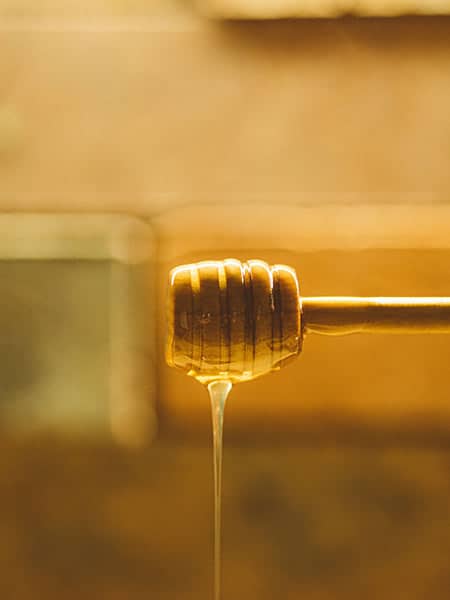
Using backlight for your lighting setup for food photography is another great option and will create a different type of picture. This setup, as the name suggests, means you are going to be lighting the frame from behind the subject, and in doing so, your background will be brightly lit – mostly white or glowing – and the food or drinks you are shooting will have highlights and a glow surrounding them. Chances are you will want to use a fill light to get the proper exposure on the front of your subject as well. Oftentimes, you’ll hear this type of light setup also being talked about with the glowing effect that it creates. Regardless of whether you are backlighting your subject or going with side light, for food photography you are almost always going to need to make sure that you are using soft light to limit the shadows in your pictures.
Softbox.
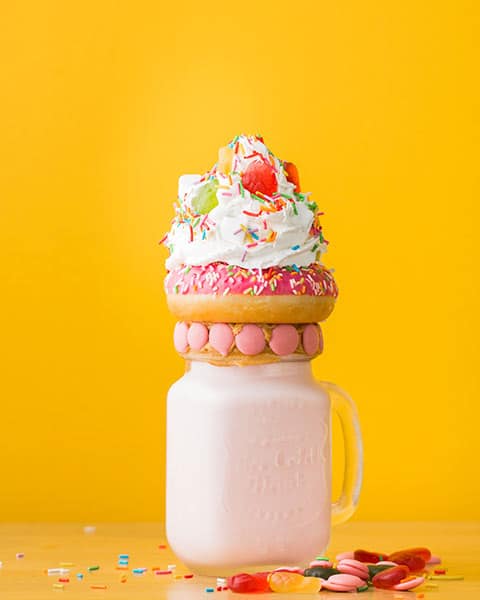
Never fear, softboxes are here! Since you will most definitely need soft lighting in all of your food photography shoots, getting yourself a softbox will be really important as it will soften the overall look of all your photographs. It’s one of the most common light modifiers you can find, with umbrellas being another solid option. You can do a 2-point lighting setup with a softbox pointing down at 45 degrees to the front of your subject with another softbox on the opposite side. If you are working with side light, you are going to want to have your softbox set up in a way that it is close to the table. When using strobes or studio lights, they can often be quite strong or harsh so the benefit of using the softbox is it will allow you to even out the light that is landing on your food. Generally, the bigger the softbox the softer the light.
10 Food styling tips to improve your photography.
Being able to style food is an important skill for any food photographer to have. We’ve put together 10 tips and tricks that will help you style food for your next photography shoot.
1. Use small plates.
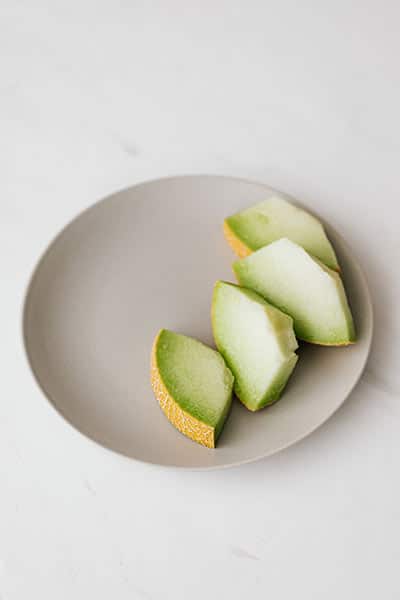
Styling the food on a small plate is a good tip for any beginner photographer. When you have a small plate, you’ll have to be selective and intentional about what food you have on the plate and how it is styled – it’s much easier to photograph than having big mounds of food.
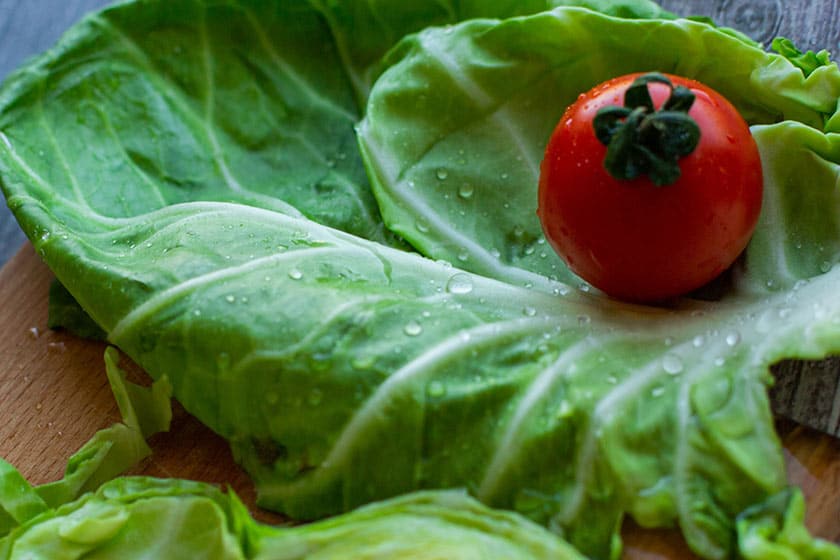
2. Water droplets .
Strategically using water droplets on some of your objects can make for a really fresh look and it can also add texture to your pictures. These work well on things like fresh fruit or vegetables, or when working with drinks that you want to look cold and refreshing. Invest in a spray bottle from the dollar store to curate this style. If you need the droplets to last for a long time you can also use glycerin as it will look like water drops without drying out or continually dripping.
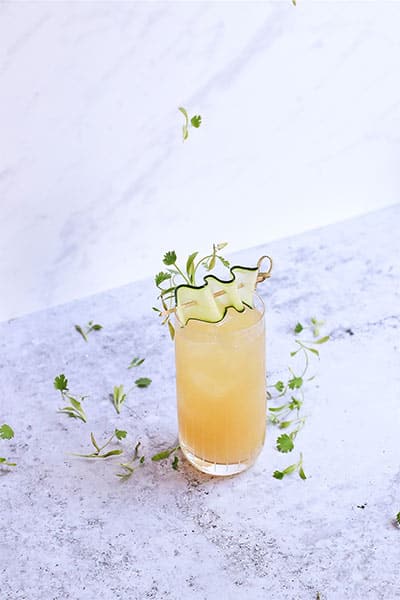
3. Home-grown garnishes.
Having fresh garnishes to use to style your next food photography session is always a great way to add to the freshness of the pictures. If you are planning to grow your business as a food photographer, try growing some garnishes at the same time – things like berries, basil, rosemary, mint, etc.
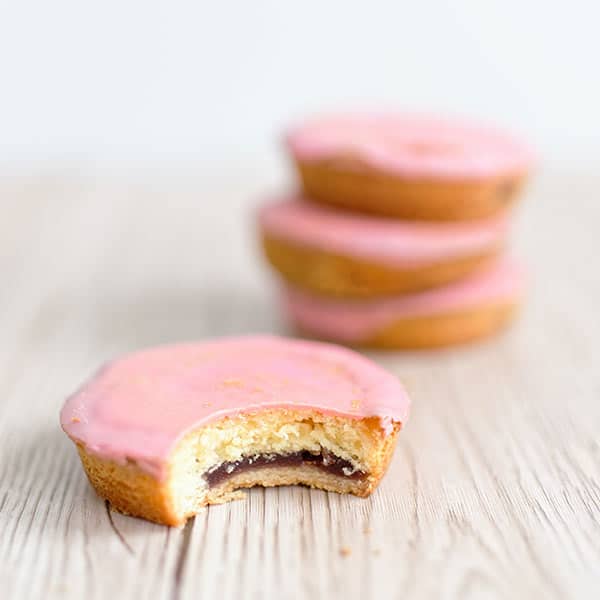
4. Take a bite.
Try having your food styled with a bite strategically taken out of it. This is a fun way of food styling that will humanize the food a bit more and adds a unique element to your photoshoot. You are going to want to have the bite taken in the most strategic way where the food still looks delicious but also real.
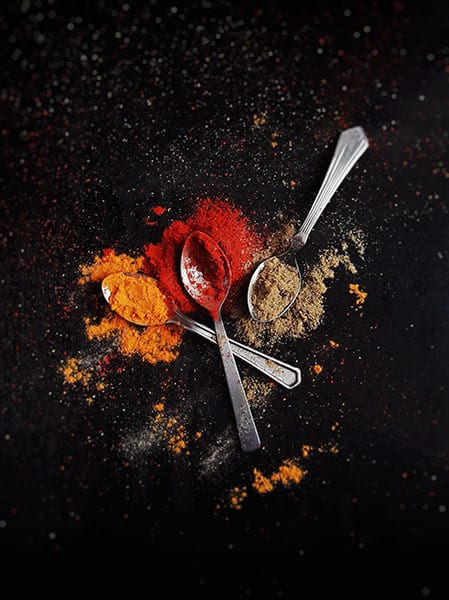
5. Be creative with the cutlery.
Being creative with the cutlery is another easy way to add unique styles to your food photography photoshoots. The fun part about cutlery is it can really change the style – whether you are using your grandmother’s antique cutlery, wooden pieces that make for a rustic look, or going modern and chic. The sky is the limit.
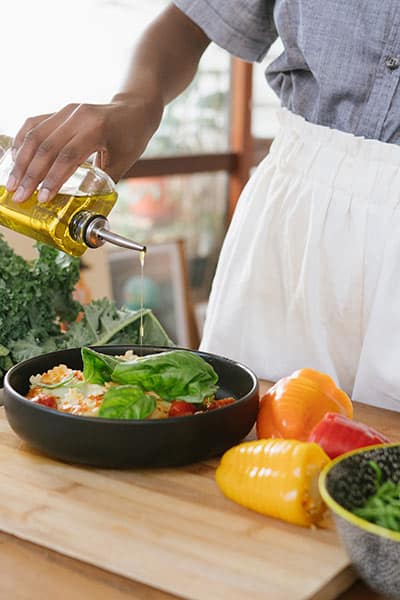
6. Fresh ingredients.
Styling your food photography with fresh ingredients in the backdrop is a quick and easy way to make your food look instantly fresh. Cut halves of a fruit to have in the shot or use other fresh ingredients from the dish placed strategically as props.
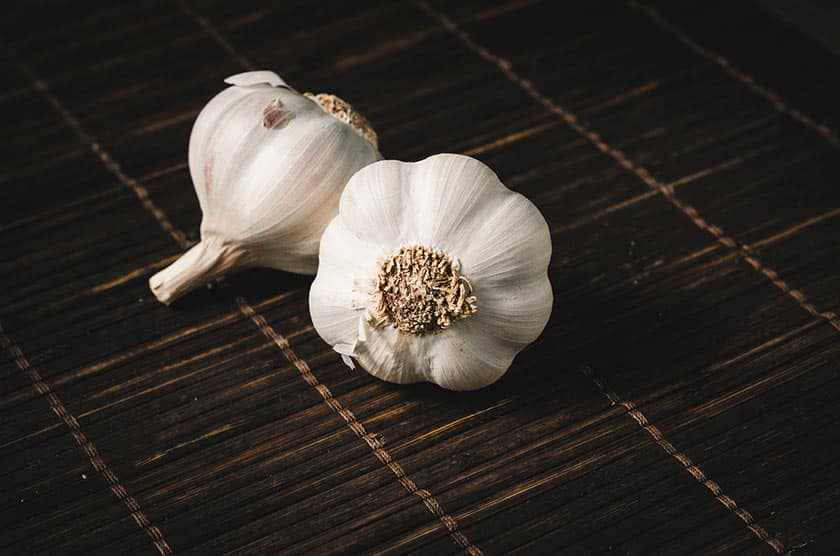
7. Stay away from busy patterns.
The focus of your food photography has to be, none other than… the food. To make sure that the food is always the central point in the photograph, you are going to want to make sure that you aren’t using any patterns that are too busy or any colors that are too bold.
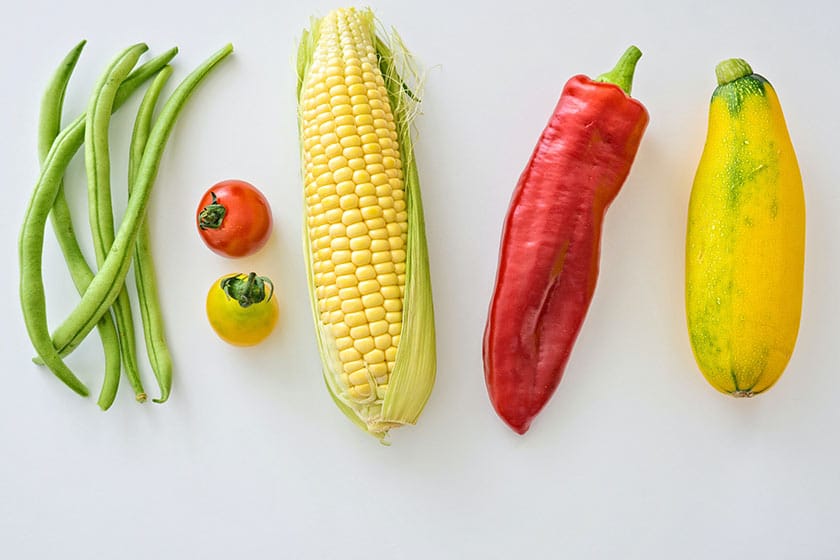
8. Less is more.
As a rule of thumb, when it comes to styling your food photography always remember that less is more. Sometimes as you are photographing and trying new things you might find something is missing and try adding in props, but sometimes what the photo needs is to take things out. Try it next time.
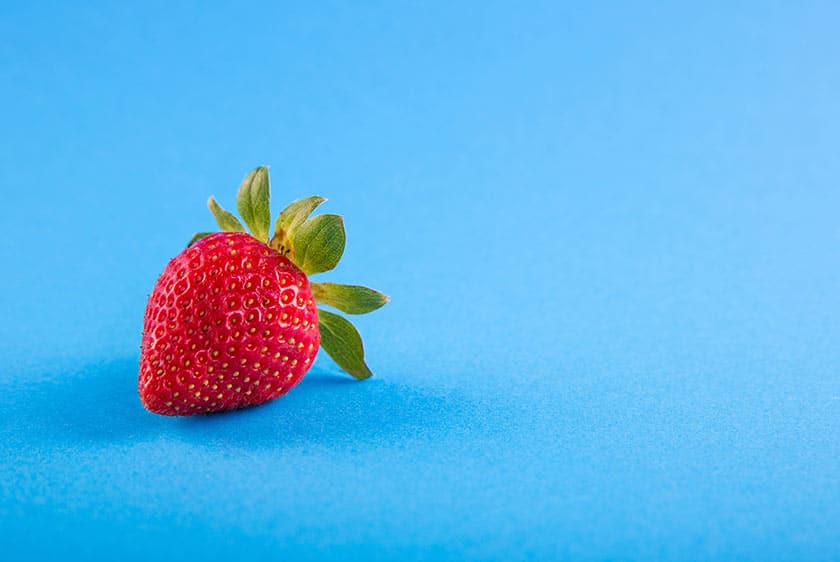
9. Choose under ripe fruit.
Okay so you aren’t eating the fruit right? So it’s okay to choose fruit that is not quite ripe yet, it’s actually better for your food photography shoot. It helps to have apples without bruises or avocado that is still hard and won’t look mushy in your photographs.
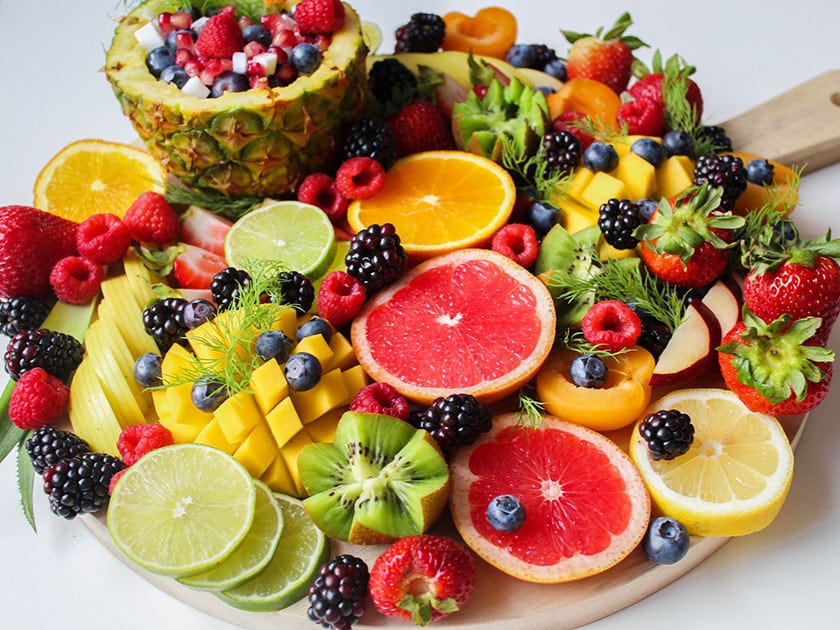
10. Cut your food.
Another different styling technique in food photography is to cut your food in different ways. For example, if you are cutting different fruits to have as props in the photograph you may have some in halves and some in wedges. It’s the simple ways of styling that will go a long way in your shoots.
How do you shoot food with a white background?
Choosing to shoot your food photography on a plain white background is a simple, effective approach. Your shots will look very clean and professional.
White background.
First thing’s first, you will need a white background – we know it sounds obvious, but there can be no work arounds to this. You can’t use a wall that is a bit off-white. You can use a white card, foam board, bed sheet, seamless backdrop, etc.
Reflector.
Your reflector will need to be set up opposite to your light source and used to reflect the light from the light source and to your object. For a bounce reflector, you can purchase them online or you can use another piece of white material, such as foam core – that will also do the trick.
Window light.
Ideally, the set up of your photoshoot on a white background should be beside a window with diffuse light, or a strategically placed light stand with a softbox . To manage the amount of light that is entering, you can use a white curtain as a really easy way to stop any direct sunlight from entering your shot unannounced.
Tripod.
If you have a tripod, we always recommend using it for your shoots. Tripods are a great way for you to be able to manage the movement of your hand in the photographs and also for leveling of your background – it allows for the crispest shots.
Manual mode.
You are going to want to make sure that your camera is set to manual mode to allow you the most flexibility, especially for the shots where you aren’t using a tripod. This is going to allow you full control your exposure settings: aperture, ISO, and shutter speed.
Food photography camera settings.
Having your camera setting properly set will allow you to be successful as you begin your career as a food photographer. Here are some tips on how you should set your ISO, shutter speed, and aperture settings for optimal food photography photographs.
ISO.
When we talk about ISO, we are looking at the sensitivity of the camera’s sensors to register information – the higher the ISO, the faster the information is being processed. The downfall to the higher the ISO is that you are going to get noisier pictures, so if you are using these images for print publications or blowing the pictures up to a larger size then you’ll need a lower ISO. When working with solid lighting, set your ISO at 400 or lower. With food photography you generally will have control over the amount of light you have so you should be able to keep your ISO relatively low.
Shutter speed.
The shutter speed is how fast the shutter of the camera can open and close. When you look at the options on your camera, you are looking at fractions of a second so 60 is 1/60th of a second. The one good thing about food, is it isn’t a moving subject like you’d find in sport, event, or wildlife photography. That being said, when you are holding a camera and shooting freely, you’ll get some natural movement in your hand. A common suggestion is that your shutter speed should not be less than your lens’ focal length when you are shooting handheld. So if using a 50mm lens, you should set handheld you should try to keep your shutter speed a 1/50th or faster. Everyone has different hand strength and capacity for stillness, so find what works best for you and don’t hesitate to push it up to 1/125 or a little higher as needed. Keep in mind, when using a tripod you’ll have more flexibility to use long exposures.
Aperture.
When we talk about aperture, we are talking about how much light is being allowed in through your lens – it’s how wide your lens will open when taking a photo. Your aperture is going to change depending on the type of photograph you are trying to capture and your creative style – for example, if you are shooting in close and creating a bokeh effect where the food item is crisp but the background is blurry then you are going to want to shoot wide open with a low f-stop like 1.4. In these photographs, items in the background will not be in focus. For beginners, you should use an aperture between 3.5 to 5. If you want the entire field of view to be in focus you may want to use a smaller aperture like f/16.
Build an online portfolio website you love.
Put your food photography in the spotlight.
