Tips for Preparing and Scoping Out Your Next Photography Trip
August 29th, 2016
By Joseph Roybal
As a travel landscape photographer who often seeks out non-iconic locations to photograph, I am constantly visiting new places around the globe—many times sight unseen. It’s crucial to prepare effectively for a travel photography trip if you want to maximize your result. In this three-part series I’ll go over how I scout a location from home, how I plan my images from my office, how I visualize what I can produce, the step-by-step process I use to line out my shots in the field once on-location, and finally I’ll show the finished product I was able to produce using Zenfolio as my all-in-one hosting, viewing, and selling platform.
This article covers scouting, the most important step. Before you even leave home you want to get a solid understanding of the area where you are going to be working. When I get an idea of where I would like to go, either for myself or working with a workshop client, I find a general outline of the territory using several resources—Google, Google Earth, PhotoPills and my Garmin GPS.
I will search general Images to get an idea of what is out there on the Internet for an area. With all of the images on Google+ and uploaded daily through various online platforms, I find this is a good place to start your search. You can discern if an area has potential, has already been photographed well, and/or if there is nothing for this location, which is even better! After trolling here for a bit I move over to Google Earth to begin familiarizing myself with these areas.
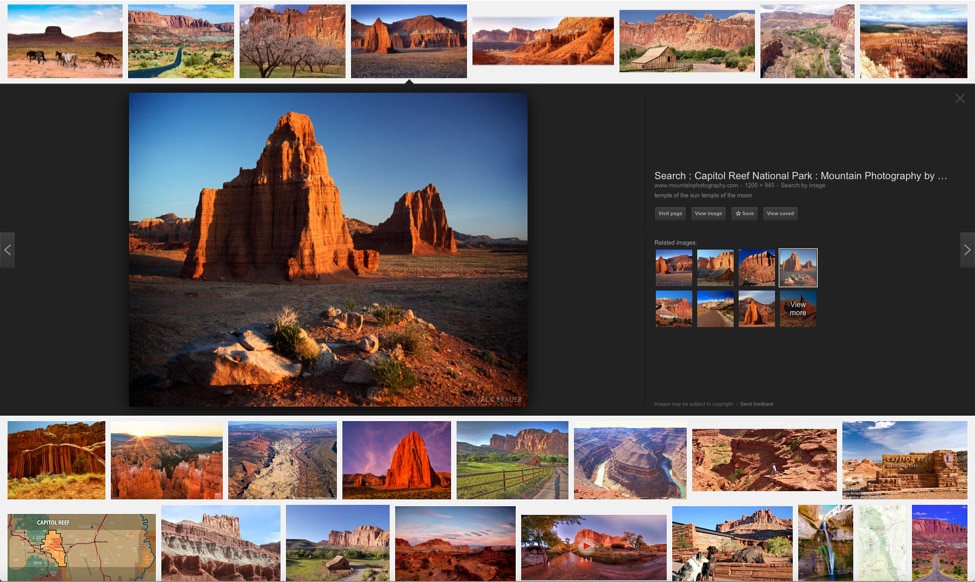
Photo credit: Jack Brauer
Google Earth
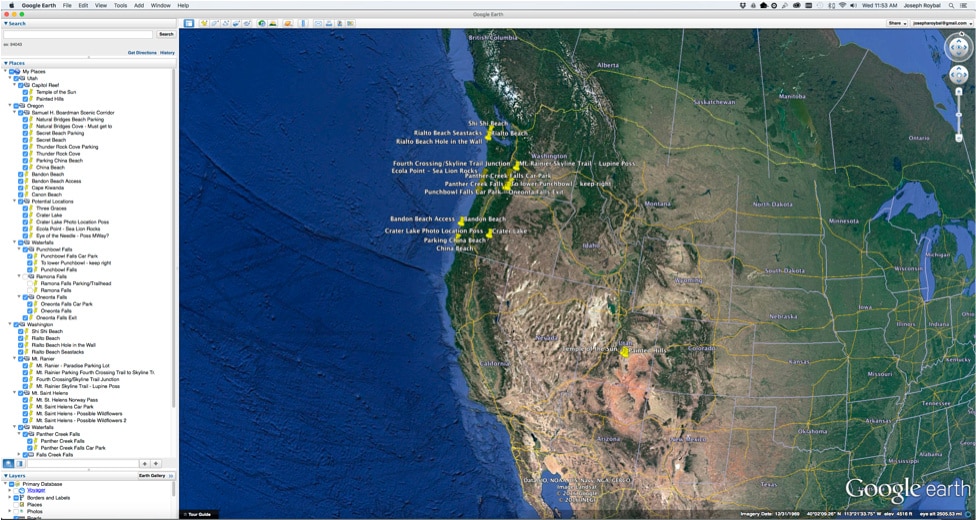
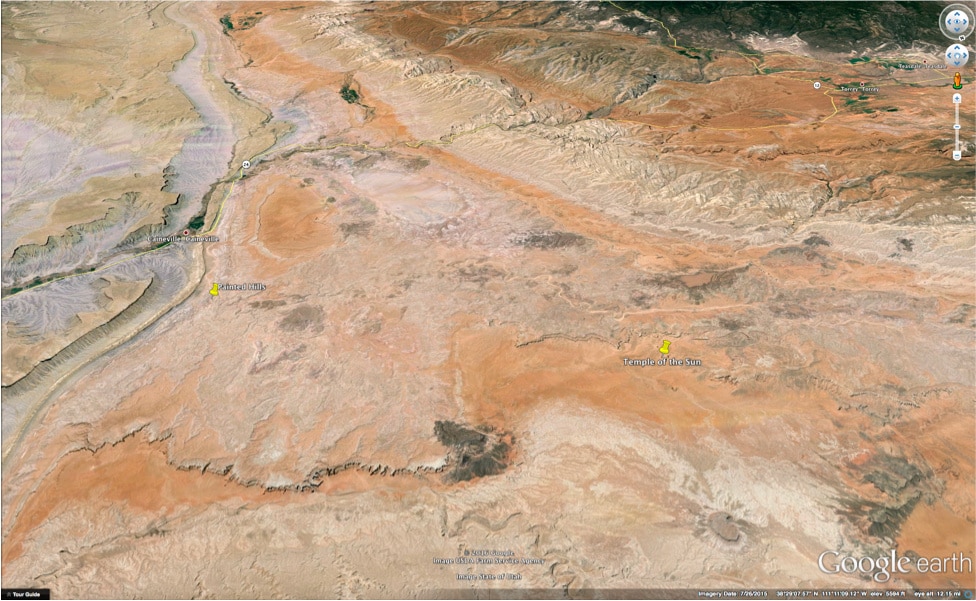
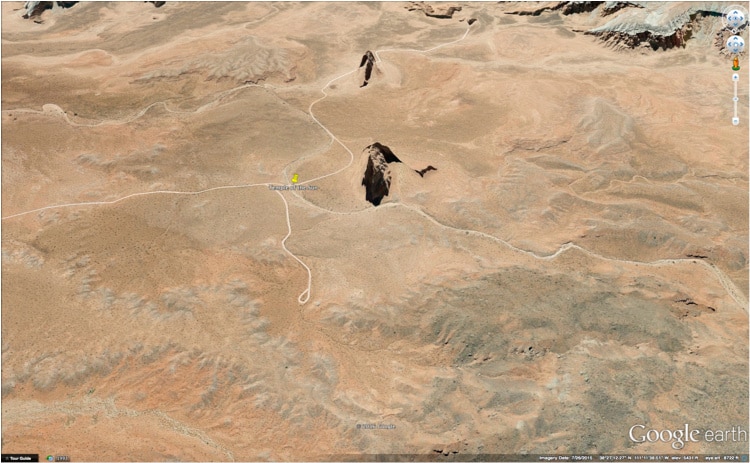
Google Earth is probably the most important and underused asset in a landscape photographer’s trip planning arsenal. With Google Earth you are able to not only get an bird’s eye view of the area, you can then zoom, pan, rotate, view objects from a ground-level perspective, and get a compass and GPS coordinates. More importantly, you can drop pins and create folders to save and create a route with, and later synch with Garmin BaseCamp.
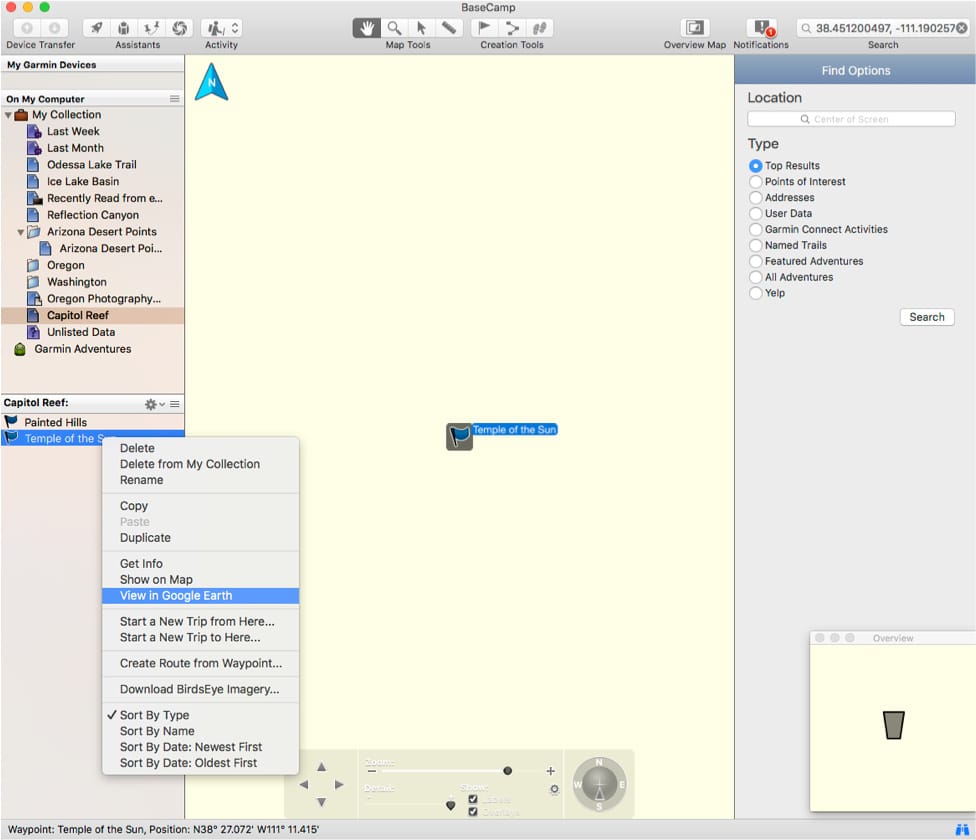
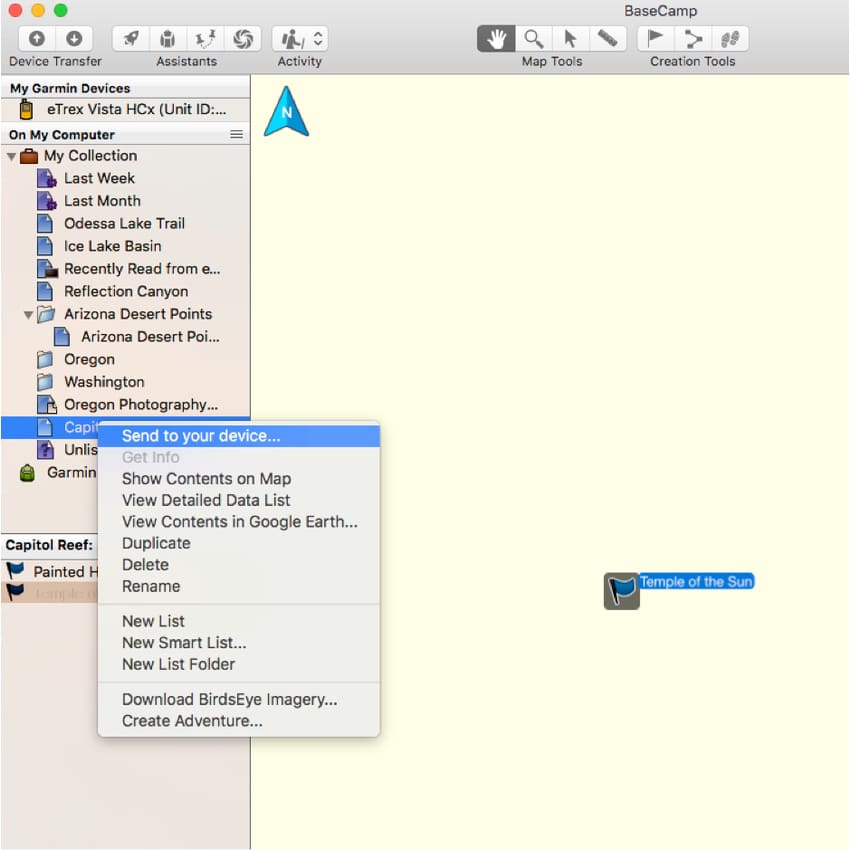
Imagine you are looking to hike to a far-off location. You can plot your course by dropping pins to find the most level and obstacle-free route from the parking lot to the lake, for example. Save these in folders, and save this plan as a KMZ file. Next, open it in BaseCamp and send it to your Garmin. You now have a route planned.
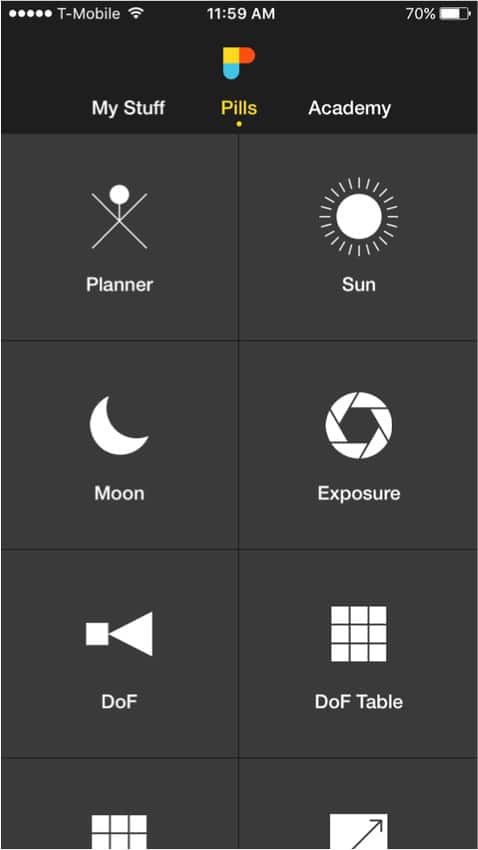
PhotoPills
I have recently begun using this incredibly powerful app to help plan my night photography images. I start by getting a solid idea of the location from Google Earth with an understanding of north and south. Then I zoom forward “in time” to the date I think I will be in the area, keeping in mind the moon phase and where the Milky Way will be throughout the night.
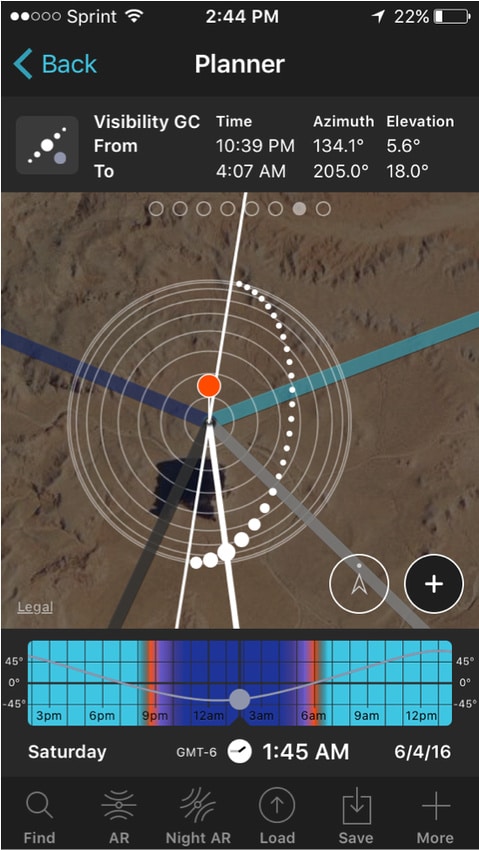
Note the time listed of 1:45 AM and larger dots. These denote the Galactic Core of the Milky Way and how they align with a North/South orientation. They also show me the general time of the morning I need to be in position ready to capture my images. In the upper bar this shows the time frame the Galactic Core will be visible throughout the night.
Garmin BaseCamp
I love the Google Earth and Garmin BaseCamp integration. It’s useful to be able to first find a location in Google Earth, pin it, copy the GPS coordinates from the location found and paste these in BaseCamp, creating a pin within a folder there. I always select to open it in Google Earth to double check my locations and make sure they align. Once this is cross-referenced I connect my old school Garmin car GPS so I have this. I do not like to rely on my cell phone, even with Google Maps downloaded for offline use, and then connect my handheld Garmin GPS to also have the coordinates plugged in. I do all of this before leaving so I am able to navigate to a location, hop out of my car, and if necessary, run for a photo not being (too) concerned about getting lost or disoriented. I have several lines of defense against getting lost set up from the get-go with Google Maps downloaded on my phone, my handheld Garmin eTrex with these points of location noted, a physical compass, and always a paper topographical map of the area.
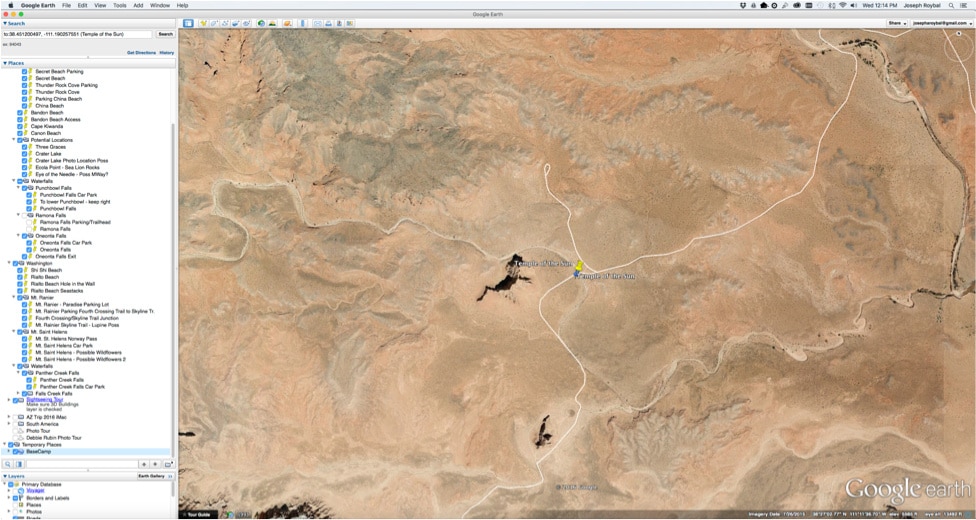
Note: Blue pin shown in Google Earth screen is BaseCamp’s inserted location. This shows me my coordinates are accurate and can now transfer to the device.
With the help of all of these tools, you can get a solid idea of how an area looks before you arrive in person. And the more you practice with this approach, the better you will get at understanding how to “read” and translate all of these different tools.
Please stay tuned for Parts 2 and 3 of this series, where I will show through several video shorts how I line up a scene. I’ll share the what things I consider before I even take a shot. Part 3 will also include how I utilize Zenfolio to host, showcase and sell these images in a beautiful and streamlined workflow.
Based in beautiful Denver, Colorado, photographer Joseph Roybal is one to keep an eye on. His extensive portfolio of landscape images and travel portraits give viewers a rare glimpse into the wondrous and colorful cultures that he visits. Joseph’s images not only tell a gorgeous story of each place that he travels to, they also showcase the true heart of each location.


