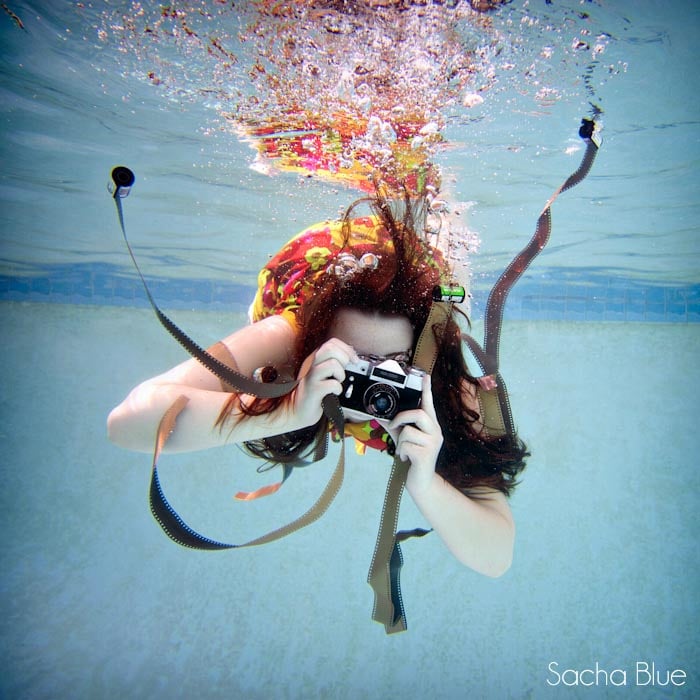
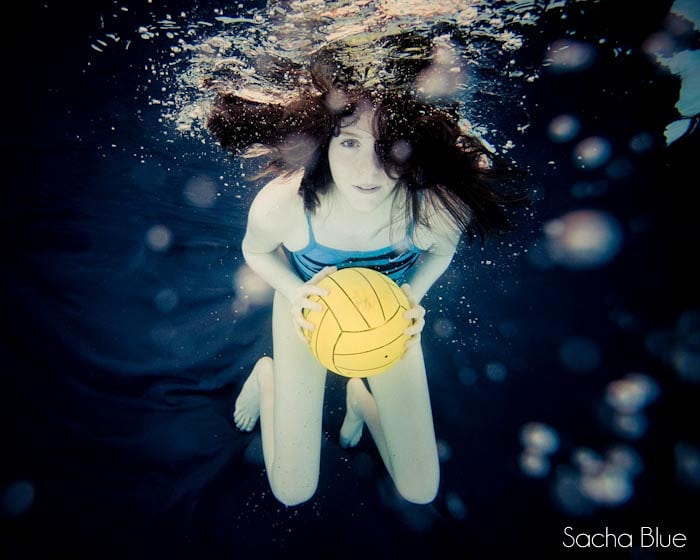
Underwater Portrait Tips – by Sacha Blue
April 18th, 2012
Sacha Blue is an underwater portrait specialist located in the Greater Seattle Area. She focuses on creating one of a kind portrait experiences for expectant mothers, children, aquatic athletes and high school seniors. Today, Sacha reveals some of her underwater portrait tips so that you can create your own!
Underwater Portrait Tips – by Sacha Blue
Growing up I had both a portrait studio and darkroom in the house and I spent thousands of hours in the pool swimming and teaching others to swim. Ironically it wasn’t until I became scuba certified and started preparing for a dive trip in 2008 that I first thought about taking pictures of people underwater.

Knowing I’d be totally bummed to make a scuba trip without being able to photograph what I saw while diving I started looking at various underwater photography options. I talked myself into the added expense of housing a dslr instead of a point and shoot by deciding that I’d simply start offering underwater portraits when I returned. At that point I’d found plenty of information for taking good pictures of marine life while diving and assumed when the time came I’d find similar articles about photographing people underwater.
I don’t think I could have been more wrong.
I returned and started scouring the internet which taught me that there were very few photographers doing anything with people underwater. Even fewer had made it their specialty. Nobody seemed to be sharing information.
Something as simple as determining what equipment I needed was a challenge because the camera store people would refer me to the dive shop because they didn’t know about underwater equipment. The dive shop people would send me back to the camera store because they didn’t really know much about photography.
Undeterred I started experimenting. I learned which elements of portrait photography still applied in the pool and which changed. I discovered challenges unique to underwater portraiture and went on to find ways to make most of them work for me and workarounds for the rest.
From a creative perspective the process was actually quite liberating. With no one to follow or any real authority to tell me if I was doing things right or wrong I was left to follow my instincts. The only path I could see was to keep trying new things until I could make the images that came out of my camera resemble those dancing around my head.
Since there is no practical way to squeeze three and a half years of trial and error into a single blog post I’m going to summarize what I’ve learned with my top ten tips for making dramatic underwater portraits of your own.
1. Make water safety – including being aware of water conditions, considering the impact of any accessories, and keeping clients comfortable during your shoot – your highest priority.
2. Realize that a lot of what you already know about photography still applies underwater. Exposure, for example, is still adjusted by changing a combination of iso, aperture, and shutter speed and you’d think about which to change based on the same parameters of a dry portrait. Bright sun overhead causes harsh shadows and shade provides more even light.
 3. Know that colors start to fade within a few feet underwater and red is the first to disappear. This applies to depth from the surface and distance horizontally between you and your subject. It also changes based on water conditions.
4. Keep your subject near you and at or near the surface for best color, clarity, light, and reflections. In most cases this requires using a wide angle lens.
5. You really only need a small corner of the pool with 3-4 feet of water depth for most projects.
6. This is generally not a genre for wide open apertures and slow shutter speeds because people can’t help move in the water and it’s hard to predict when or how far they will go.
7. Remove the swimming pool look by draping fabric over the side of the pool. Swimwear fabrics (spandex, stretch lycra, etc.) work well and usually cling nicely to the side of the pool. Watch out for jets (which will push the fabric away) and drains (which will suck your fabric in and can damage the pool filtration system) when you’re draping your fabric.
8. Sheer fabrics like organza flow well in the water behind or around your subject while adding a splash of color to your photograph. You can buy fabric by the yard or use sheer curtains. For clothing lighter weight fabrics that “flow” in bright bold colors usually work best.
9. Wear goggles not only for comfort but to help you see. Most people cannot see clearly underwater without them.
10. Have your subject blow bubbles (exhale) underwater. This will help them stay under as well as prevent the unflattering rounded face common with breath holding.
It pains me to end with a cliché but in this case practice really does make perfect.
Experienced photographers often tell me it’s much harder than they would have expected, but worth the extra effort. As you head to the pool I hope you embrace these new challenges and give yourself plenty of time to play and freedom to create.
—–
To view more of Sacha’s underwater portrait photography head over to her website, Facebook or Twitter.


