Why it is important to get away from your camera’s Auto Settings (or at least understand them!)
April 9th, 2021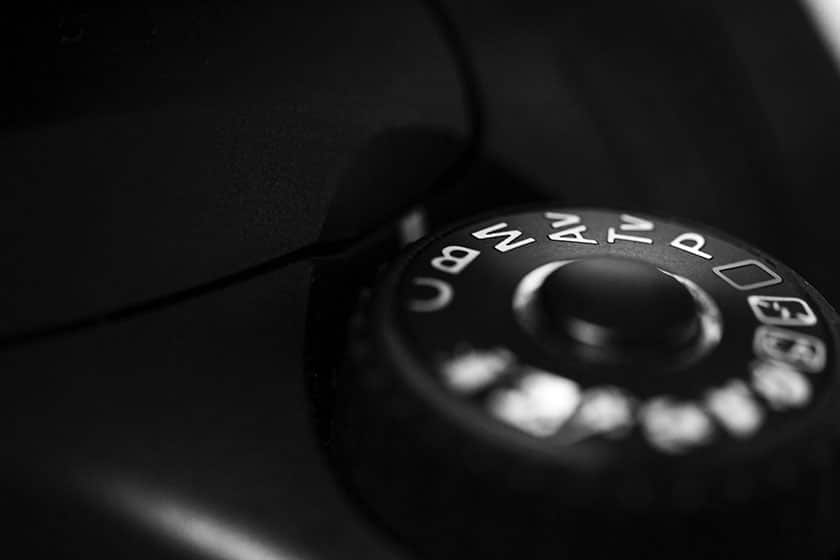
As new cameras come out, with incredible new features and settings to play with, it’s hard not to just let the camera do all the work for you. Photographers have enough going on around them no matter what genre you shoot; whether it’s making sure the couple is comfortable, hiking to the top of the hill to get that golden hour landscape before the sun goes down, or taking pictures for a school yearbook.
The bottom line is: whatever we can make automated, the better. This may be true for your business workflow or for your editing process, but that may not be the case for those automatic settings on your camera. If we use the auto function (or better yet do not understand the more manual settings of our camera) we might actually be hurting the final photographic product!
Before we dive in to understanding your camera settings better, I will say that the “Auto” setting is not inherently evil. There are many times where I am sitting in the car (not driving of course) and I want to stick my head out the window and take a picture of something, or I’m walking with the bride and groom and I want to snap a quick picture of them walking towards the venue. Every photographer has those specific moments where they do not have time to set their aperture, shutter speed, and check their ISO before it’s too late to document that moment in time. It is not necessarily about only using manual settings and making life more difficult for you if you do not prefer to shoot that way, but more about understanding what settings you do have and what gives you the look you want for your images!
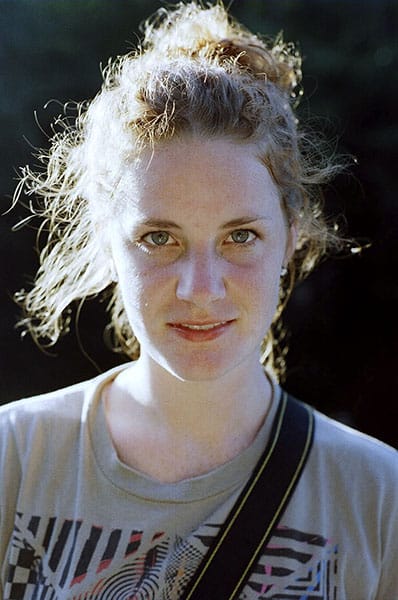
shutter: 1/500 f: 3.2
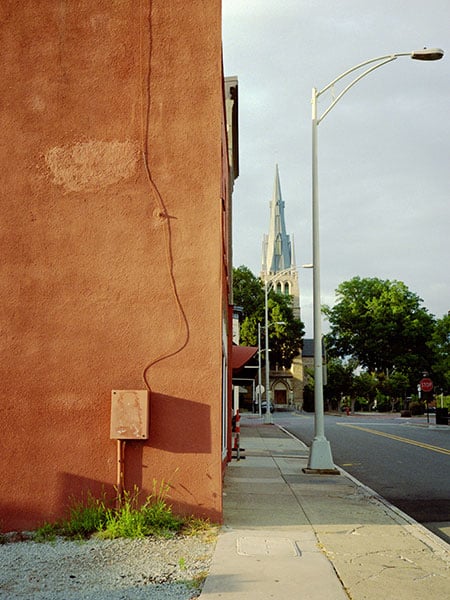
shutter: 1/90 f: 16
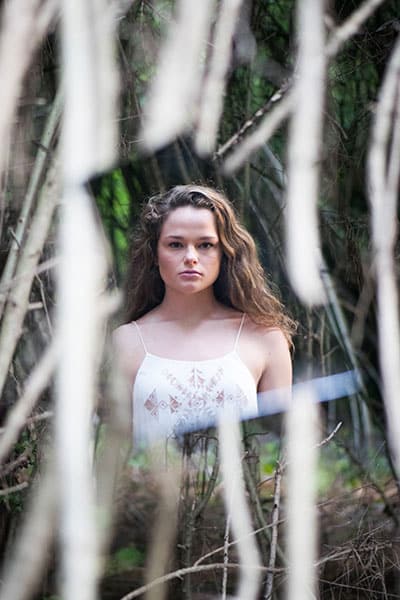
shutter: 1/320 f: 3.2
Your Camera’s Auto Settings.
In most cameras, your Auto setting will take care of your Shutter Speed, Aperture, and even ISO if needed. All three of these aspects control different outcomes of your pictures. Let’s simplify that a bit.
Shutter Speed controls how quickly your camera takes a picture.
Aperture, also referred to as the f-stop, controls the depth of field (how much of the image is sharp, and how much is out of focus.)
ISO has to do with the sensitivity to light (the higher the ISO the more grainy the image and the easier it is to photograph in low light conditions).
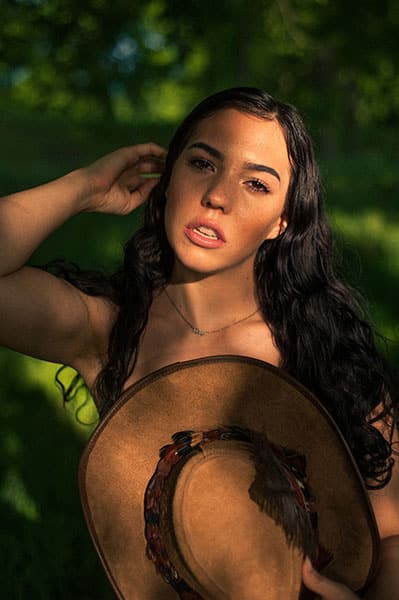
shutter: 1/650 f: 1.8
These three areas all affect one another. For example, if I want to take a close up portrait with the background way out of focus (as in this example of the dark haired woman holding the hat), I can set my aperture to a lower value like f2.3 or f5.6. The lower the aperture, the more “wide open” your lens, which means it lets in more light. Because there is more light , I will need to compensate with a higher shutter speed. A higher shutter speed means your lens is open for less time, which in turn allows for less light to come through the camera; it is all about balance!
If I want to photograph a nice landscape with everything in focus, I will need to set my aperture to a higher value like f16 or f22 (as seen in the street shot and dune with wheel tracks) which will allow for less light to pass through the lens. Because of that, I’ll need to have a lower shutter speed so my camera will take a longer picture, thus letting more light in to compensate (this is where a tripod comes in handy.)
Makes perfect sense, right?! It’s okay if it does not. If this is your first time diving into what these settings actually do, just focus on what they do for your images rather than the math behind it. The light meter in your camera helps you find what will make a properly exposed image when you are moving the shutter speed and aperture around to achieve your look.
The ISO setting can be best described in Film Photography terms. With analog film, the ISO of a film type has to do with the overall sensitivity of that film to light – the higher the ISO number, the more sensitive it is. For example, I will shoot a film that has an ISO of 400 in the daylight because it is less sensitive. If I am photographing in a dim lit room, I will use a higher ISO film, somewhere around 1600 to even 3200. Your digital camera’s ISO works the exact same way!
If I want a smooth landscape without as much grain in the final image, I will shoot at 100 ISO if it is bright, sunny, and right in the middle of the day. Digital cameras have the luxury of reaching crazy high ISO’s like 6400 or even high as 32000! The big takeaway from all this technical talk is that cameras will set these settings for you depending on what you are shooting to give you a satisfactory image, but as an artist, it might not give you the image that YOU want and envision.
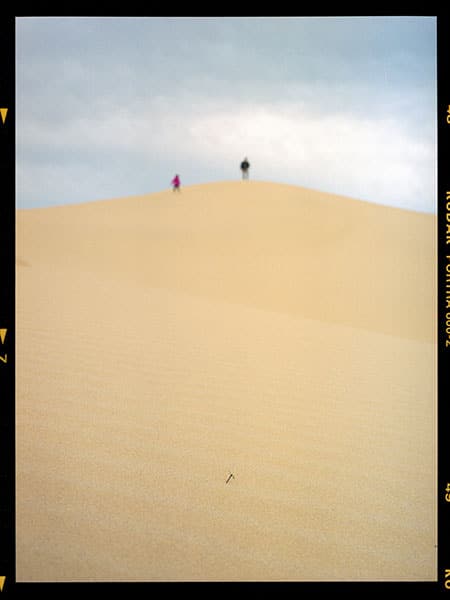
shutter: 1/250 f: 4
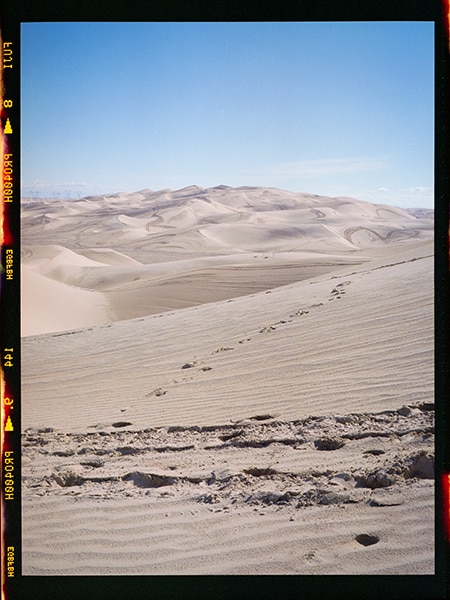
shutter: 1/125 f: 32
Aperture Priority Mode.
Now you may be thinking “Ok so you’re telling me I gotta stick with auto settings which might not give me the final image that I’m looking for, or I have to go full manual and stress myself out every shoot?” – which is a valid question. Thankfully, Digital cameras and even the film cameras that came before have always had settings in between manual and auto that will do some of the work for you!
One of my favorite settings, that I recommend when first moving away from auto and being in more control of your image, is the Aperture Priority setting. When your camera is set to this, all you need to worry about is setting the aperture to your desired value. The camera will then set a shutter speed for you based on your aperture. This is the in-between setting that will still give you the freedom to control your depth of field and how much light you let in, while not having to worry about all the other values that add up to your perfect picture.
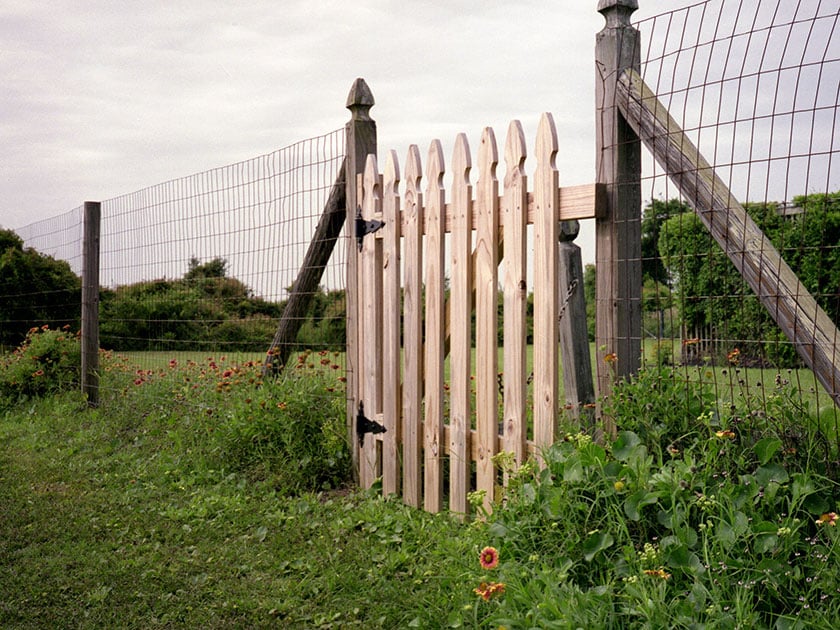
shutter: 1/125 f: 11
Understand Your Shutter Speed, Aperture, and ISO.
Whether you are shooting in Auto, Manual, Aperture priority, or anything in between – understanding your Shutter Speed, Aperture, and ISO will be your best friend when it comes to achieving the look you want for your images. Even in these different modes, most DSLR and Mirrorless cameras (even some film cameras, too!) will display these values so you can double check that the camera will still give you your shallow depth of field or your longer exposure – without having to go completely manual.


