A beginner’s guide to photography.
November 17th, 2021
In a world where smartphone cameras continue to improve and photo filters can be added with a single touch, it’s easy for anyone to feel like a photographer. But what if you decide you want to take your photography a step further?
Being a photographer is a lot of work, especially if you want to start a career in photography. You’ll need to invest in the right gear, learn the terminology, practice different shots and get comfortable with editing. But if you’re willing to put in the time, effort, and initial investment, becoming a photographer can be incredibly rewarding.
So how do you make the leap from posting artsy pictures of your food on Instagram to being a next-level photo artist? Keep reading for a full beginner’s guide on how to get started in photography.
Grab the essential gear.
The first step in getting into photography is to invest in the right gear. Sure, iPhone cameras can take some decent shots, but the technology behind digital cameras is improving at a rate that’s just as impressive.
Cameras
There are several different types of cameras, each with their pros and cons for beginner photography. A few examples include:
- Digital single-lens reflex cameras: Commonly referred to as DSLRs, these cameras are the most popular photography format for amateurs and professional photographers alike. DSLRs make great cameras for beginner photographers because the lenses are detachable, allowing you to change your camera’s angle from wide lens (often used for landscape photography) to a telephoto lens, which enables you to take clear photos of subjects from far away (super handy for sports photographers.) For this reason, DSLRs are versatile for many types of photography and are great to have in your toolkit, especially if you want to explore multiple genres.
- Mirrorless cameras: Mirrorless cameras lack the mirror that’s used in DSLRs to preview your shot and instead work more like a smartphone camera, reflecting the image directly onto the image sensor to create an image preview. One of the biggest advantages of mirrorless cameras is that they typically have a smaller body than DSLRs, making them lighter and easier to carry. This can be useful for long shoots like wedding photography when you may need to carry your gear with you for 10-12 hours at a time.
- Action cameras: These tiny cameras (think GoPro) are extremely durable and open up a whole new world of photographic possibilities. For example, they can be attached to a drone for aerial shots (this is helpful for genres like real estate photography) or used in extreme environments, such as underwater or on cliffs, which can be useful for things like wildlife photography.
The best camera system will vary based on the type of photography you’re after, the locations in which you’ll be shooting and, ultimately, your budget. When choosing a camera, consider your target genre and research what your peers are using. If cost is a concern, don’t be afraid to buy a camera that’s one or two years old, or to start out with used gear. The technology doesn’t move THAT fast, and you can typically find a better deal.
Tripods
Tripods may not be a necessity for your chosen genre. However, they can be super helpful in creating your artistic vision no matter what you shoot, as they help prevent unintentional camera movement for both still and action photography. If you’re using a heavy telephoto lens, this tool is for you. They’re also helpful for creating sharp photos using long-exposure photography, allowing you to take detailed shots of stationary elements while movement is occurring around them (think of a scenic bridge with cars speeding through, or dreamy soft waterfall shots surrounded by crisp rocks and vegetation.)
Lenses and lens filters.
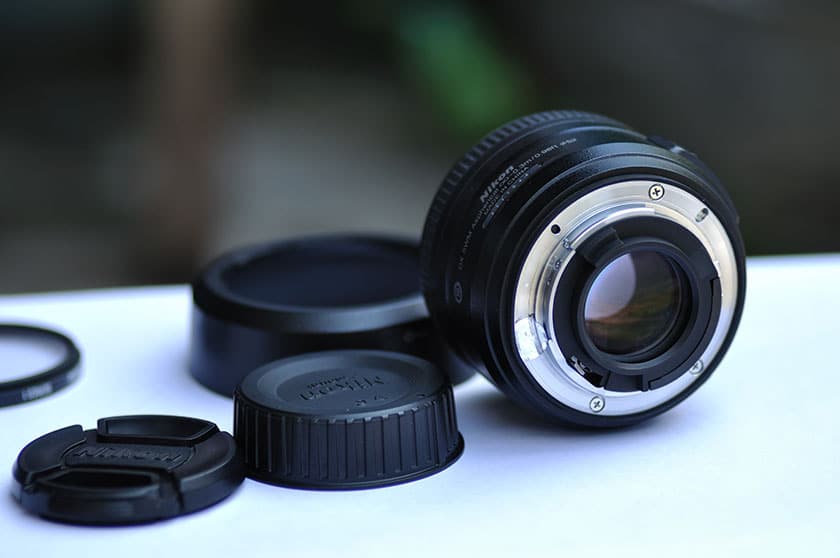
Lens filters protect your lens glass from dirt and scratches, but they can also reduce glares and reflections, enhance colors and navigate harsh lighting, enabling you to take better photos. If you have the budget, investing in additional lenses for different shoot types can expand your beginner photography capabilities, giving you versatility to get creative.
Memory card.
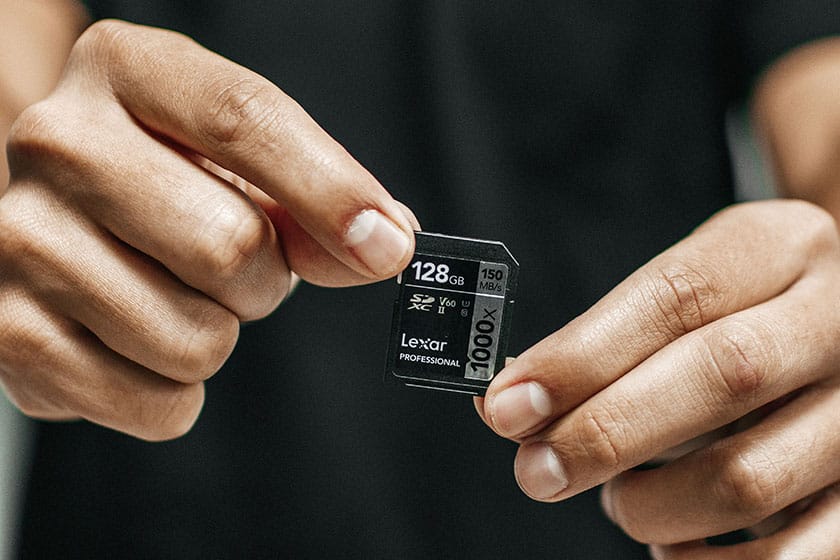
You need somewhere reliable to store all of your beautiful images! It’s a good idea to invest in multiple memory cards and carry them with you on shoots, in case the one you’re using malfunctions or runs out of space. They should be formatted regularly, and replaced every few years, depending how frequently you are using them.
Back-up storage solution.
Being a professional comes with certain responsibilities; you never want to tell a client their images are lost forever. This is where a back-up is your most invaluable invisible business partner. Many photographers will tell you, their images are backed up on at least two locations at all times. An external hard drive is a solid start, and your images should be backed up onto an external drive as soon as possible after a shoot is completed.
To really keep your (and your client’s) images safe, edited files should be backed up onto an external hard drive AND a cloud storage solution, where you can download them from anywhere at any time, should your external hard drive fail.
Now learn how to make the most of your gear.
Of course, acquiring all of this gear doesn’t mean much if you don’t know how to use it. It’s important that you know how to properly set up your new tripod, when to change lenses and the best ways to use your camera to produce your desired effect. A lot of this will come from practice and research on your specific product models.
Take time to learn how to use your camera properly, and practice in a variety of lighting situations. Some terms you’ll want to become familiar with as you’re starting out include:
- Exposure: Exposure is the amount of light that reaches your camera’s sensor, ultimately impacting how light or dark your photos turn out. You can control the camera’s exposure by adjusting its aperture, shutter speed and ISO.
- Aperture: Aperture is the size of the opening in your camera’s lens that allows light to pass through. Larger aperture values allow you to only focus on objects that are nearby. Smaller aperture values can bring even background objects into focus.
- Shutter: A camera’s shutter is the device that opens and closes over the camera’s lens and allows light to reach its sensor. Shutter speed refers to how quickly the shutter opens and closes, which controls the amount of time light is captured.
- ISO: ISO is a camera’s sensitivity to light. High ISO values allow your camera to better perform in low-light settings, whereas lower ISO values are great for shooting in bright environments.
- Sensor: Your camera’s sensor is the magic-maker: It’s what captures light and converts it into signals that form an image.
It’s also important to understand your camera’s built-in shooting modes to help you envision what mode may work best in certain situations. Most cameras have four modes:
- Full-auto: In this mode, your camera automatically controls its shutter speed and aperture.
- Manual: Manual mode gives you full control of your camera’s shutter speed and aperture, allowing you to set them to any value you want.
- Aperture priority: This mode lets you set the aperture while the camera auto-adjusts to the best corresponding shutter speed.
- Shutter priority: The opposite of aperture priority mode, this mode allows you to adjust the shutter speed manually while the camera picks the best aperture to match.
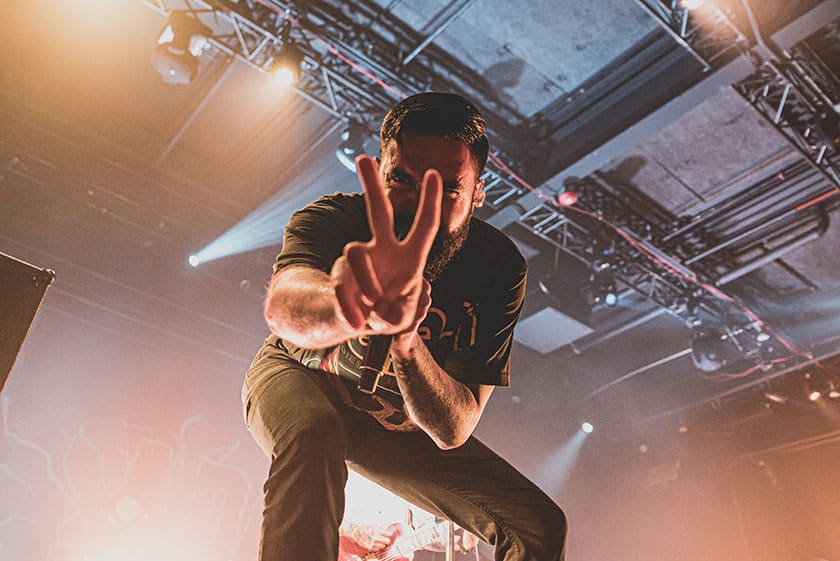
Picking up a digital camera and adjusting its settings as a beginner photographer can feel overwhelming. But learning the types of images that form based on your selections will ultimately make you a better photographer.
Familiarize yourself with basic shots.
Now that you’ve learned the basics of your camera, you’re ready to add some basic shots to your toolbox.
Rule of thirds.
The rule of thirds is a guide for helping you place your subjects in a compelling and visually appealing way within the frame. When looking through your camera lens, imagine there are two vertical lines separating your shot into three equal sections. Place the focus of your image along one of those lines – either on the left or the right – to capture a well composed shot. Once you know how to use the rule, have fun breaking it.
Using colors.
Color can also play a powerful role in the way your photo is perceived. When staging a photo, make sure to use colors that complement one another. When photographing an existing scene, consider finding a pop of color to focus on. The use of complementary and contrasting colors is great to keep in mind when helping clients plan what to wear for their headshots or family photo shoots.
Depth of field.
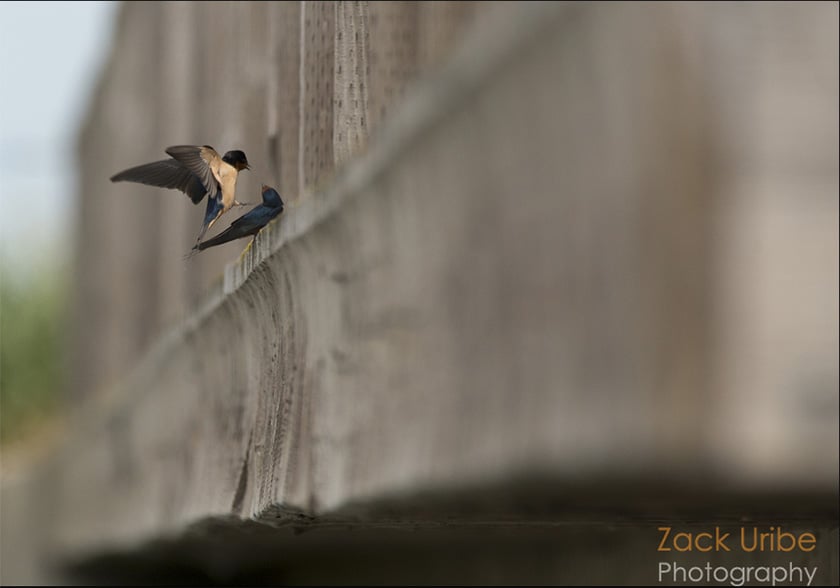
Depth of field is the distance between the nearest and farthest objects that appear in clear focus in your image. You can play around with your depth of field to create images that focus on one object by blurring out the background.
Balance
Finding balance within a photograph means positioning items in a way that creates a satisfying sense of unity. For example, you might not want to have a bright red balloon in the upper left corner of your photo with blue sky filling the rest of the frame, because the rest of the image will appear empty. Unless of course, you are playing with using “white space.” Most often, try to position your subjects in a way that draws the eye throughout the image.
Get comfortable editing images.
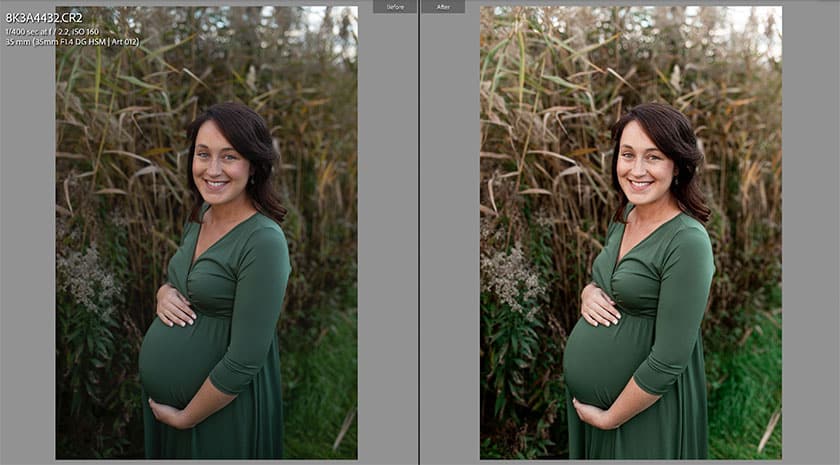
Once you have images that are impactful, appealing and that tell a story it’s time to sprinkle on the finishing touches through editing. There are many types of editing softwares out there, and there isn’t a one-size-fits-all answer for which is best for new photographers. When shopping for software, consider your computer’s hardware requirements, the software’s compatibility with your camera, its ease of use, its presets and how images are organized.
Once you’ve chosen an editing software, some basic editing skills you’ll want to practice include:
- Cropping, which allows you to remove unwanted areas around the outside of your photo.
- Utilizing white balance to remove unintended color reflections that may make your photo look unrealistic. (Objects that appear white in person should also appear white in your photo.)
- Adjusting color and exposure to improve your photos and achieve your desired style. You can make blue skies appear bluer, remove glares and reflections, tone down colors that are distractingly vibrant and create a signature style that helps others recognize a photo is yours before they even read the credit line.

Organize your portfolio.
Photographers often deal with large batches of images, so organization is paramount to working efficiently. Setting up a good organization system as a beginner can save you from headaches down the road.
If you want to start a photography business, having a compelling, organized portfolio can be the difference between winning over a client or inadvertently turning them away. Pre-built, customizable templates like the ones offered in the Zenfolio website builder are perfect for beginners, as they don’t require coding knowledge and can help you create and share galleries in minutes. You can sign up for a free trial to test it for yourself.
Getting started in photography requires dedication and patience. But with the right level of commitment, you’ll be on your way from beginner to pro in no time.


