Tips for posing team photos.
September 9th, 2021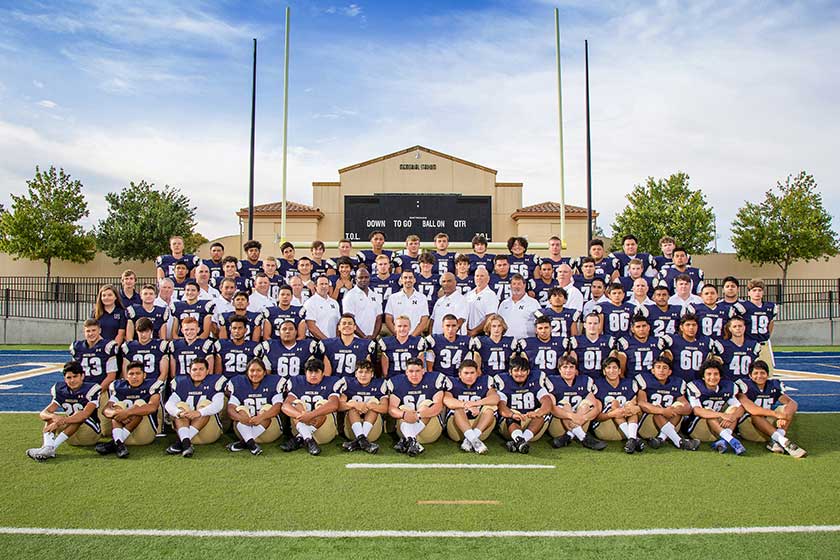
Posing can be intimidating and even stressful in the world of volume photography. You may be tasked with posing a team of 30 high school football players and 8 coaches, maybe even a mascot. With attention to detail and the coaches on your side, team posing doesn’t need to be as complicated as it sounds.
Tips and tricks to help strike a pose…
Here’s the good news – there are some tips and tricks I’ll share with you that I have used over the last decade of doing High Volume Youth Sports Photography. With a little help, the process will be much more efficient, all while producing better images!
Get a coach or parent to help you!
Most of my shoots are scheduled on game days; this makes it easier on the league to get everyone to show up for photos. However, this creates a very time-sensitive schedule, and chances are the coach views the photoshoot as taking time away from pre-game warm up. Believe it or not, this is a good thing. It puts you in the perfect position to establish a “you help me, I’ll help you relationship” with the coach. So when you see players start showing up, begin asking for a coach. It doesn’t have to be the head coach, just a coach, or even a parent, to step up and help.
Introduce yourself, and then ask what time their game is. Even if you already know what time their game is, still ask. This shows that you understand they are on a schedule. Then convey to them that keeping everyone on time is very important to you.
During individual photos, the coach or parent can help with forms and make sure everything is flowing in an orderly fashion. Once you only have four or five players left for individual photos, ask the coach to line up the players who have already had their photo taken in height order. This way, by the time you finish with your last few individuals, the team is lined up and ready for you to pose them. More on this later.
Make it uniform.
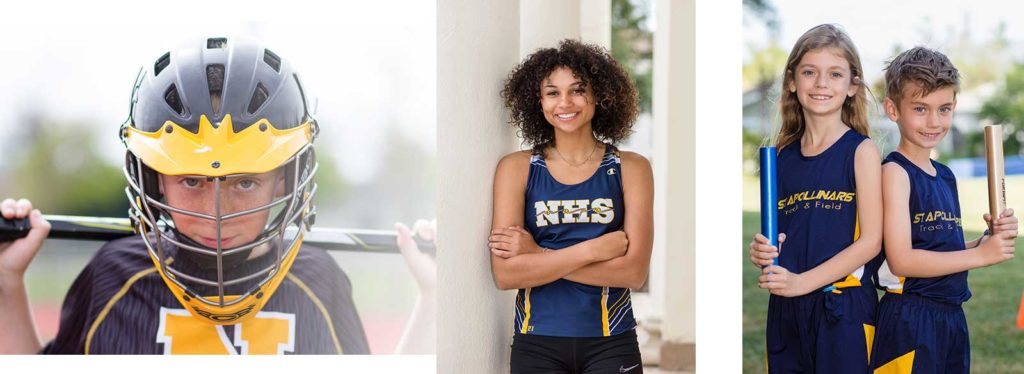
The team photo looks best if everyone looks uniform. Some jerseys are reversible, and players may have their own preference when it comes to their individual photo, but for the team photo everyone should wear the same color if possible. All jerseys should be tucked in or out, consistently throughout a team. I usually let the coach decide which they prefer; it doesn’t really matter as long as they are all the same.
Start with individual photos first, unless…
I will almost always start the shoot by taking individual photos, unless 100% of the team is there when I start; then I will do the team photo first. Whenever taking the team photo first is possible, parents, players, coaches (and therefore, you!) will appreciate this, because it frees up players more quickly for warm-ups. With the team photo out of the way, as soon as a player gets their individual photo taken, they can begin doing whatever the coaches require.
However, I want to stress that I only do the team photo first if 100% of the team is actually there, not just who the coach thinks will show up. Otherwise, you may find yourself using your limited time to hunt down players and take another team photo, all to include the late arrival.
Now, let’s talk posing.
How to assemble the perfect group pose.
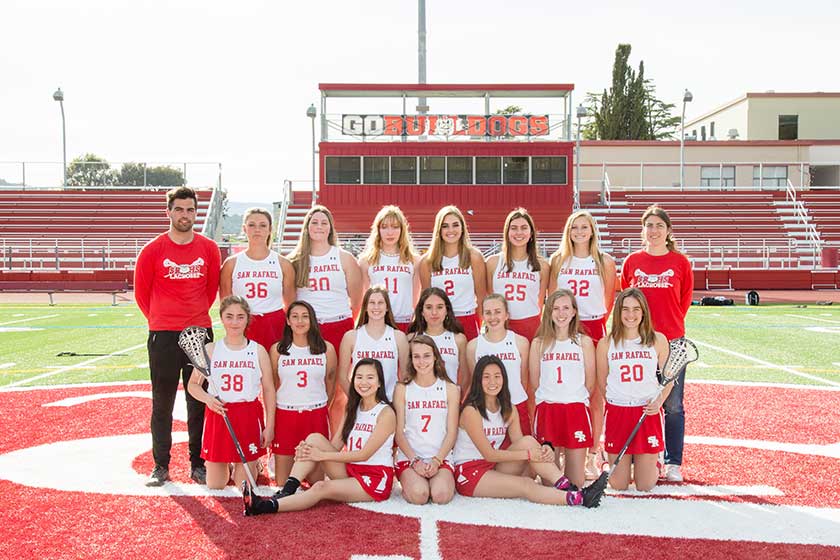
Now comes the hard part – getting the team to pose together. Make your day as easy as possible and take these steps to stay organized.
1. Line ‘em up – tallest to shortest
In the more common shooting flow of taking individual player portraits first, I’ll pause when only four or five players remain. At this point, I ask the coach or other helper to gather those who have already had their photo taken, and put them in a single file line from tallest to shortest behind me. I also use my hands to gesture tallest to shortest, and to point where I want the line to be formed. The height order does not have to be perfect yet, you can adjust before you begin shooting. The most important thing is that all the players are gathered into a single file line which is fairly close to height order. Once the coach has started this, I go back and finish photographing the few individuals I had left. With this little bit of extra communication, the coach usually has the players lined up and ready to go by the time I’m done.
2. Every player counts.
Now that the coach has all the players lined up, I walk down that line and count the players. Do not ask the coach, they will tell you how many players are on the team, not how many actually showed up for photos. This also gives you the opportunity to make height adjustments if needed. Knowing how many players are present will help you decide how many rows you need to create and how many players will be in each row.
3. Coach the coaches.
Next, I find out how many coaches / parents / mascots / assistants / etc. (basically non players) will be in the photo, then decide where I am going to place them. If the players are young (short) enough that the coaches can stand behind them in windows, aka: spaces between the heads of the preceding rows, and easily be seen, that is the best place (this will not be the case for High School Football). In situations where the coaches will be hard to see when standing behind the players, I work them into the back row. Depending on how many coaches there are, I’ll either place them on the ends, or a few in the middle and a few on the ends.
4. Create your rows.
Most of the time you are going to create a team photo that consists of two rows of players and a small third row of coaches. However there are some circumstances where you may only have one row of players or need to create three rows. For teams where 6 or less players show up, you will only create one row of players and either pose the coach(es) in line with the players or behind. For football or any other sport where shoulder pads are worn, you will almost always have to make three rows due to shoulder pad width.
5. Arrange your rows.
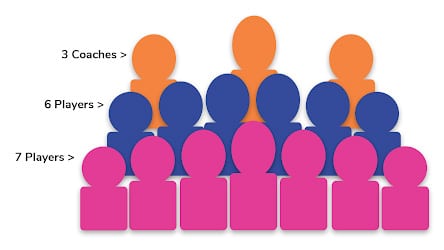
Let’s say the team you are photographing has three coaches, and thirteen players. The players are young enough that the coaches can stand behind them and still be easily visible. So you will create three rows, the first two rows will be made up of players and the third will be coaches. Your goal here is simple – to create windows or gaps. In order to do that you need to alternate between even and odd numbers in each row if possible.
You know you will have three coaches in the back row, so the next (middle) row in front of the coaches needs to have an even number of players, and the next (front) row would have an odd number of players. In this example, my team pose would consist of three coaches in the back row, the next row would be the six tallest players standing, and the front row would be seven players down on one knee. Figure all this out in your head first, then start moving people into position, beginning with the front row.
Pro Tip: Always position and pose the coaches LAST, this keeps them in front, engaged, and helping you keep the kids in line.
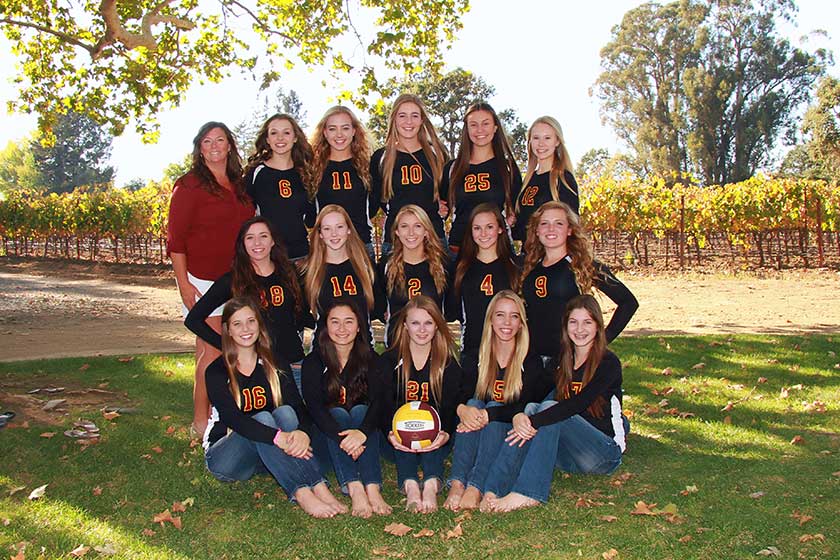
6. Now build a pyramid.
Once you have rows figured out, it’s time to move everyone into position. Ask the coach who has been helping you to stand at the front of the line and send the players to you one at a time. You always want to start with the taller players. When the first player comes out, position them where you want the center of your shot to be, then place the next player to either the left or right of the first, then position the next player on the opposite side. Continue alternating sides until you have all the players you need in that row. This method should create a pyramid effect with the tallest players in the center. Don’t worry too much about how straight the line is for the back row yet, you will be moving them once you get your front row set up.
7. Who gets in the front line.
Using the same method as above, create your front row which should consist of the shorter players. Remember your goal here is to create windows for the back row of players to step into. As you are placing the players into the front row, allow them to stand until all the players have been positioned, also don’t worry too much about trying to make a straight line as you position the players, they will just move around on you anyway.
Now with both rows of players in position we can begin posing.
8. Posing the front row.
How you position the front row will depend on the age group. For 6 year olds and under, the front row ALWAYS sits cross legged on the ground no matter what sport, this is for your own sanity. For older age groups you have a couple of options to choose from, however in my opinion having the front row down on one knee is best because it allows the back row to move in closer than if the front row is down on both knees. When you pose the front row, you want everyone shoulder-to-shoulder and you want the line to be as straight as possible, as you will be using the front row as a guide for the rest of the team and coaches.
Pro Tip: Uniformity is key to making team photos look good, when you do the one knee down pose, you want to make sure everyone puts the SAME knee down. if you are on a field that has lines, use those lines to straighten out your front row by posing them on the line if possible.
- Front row sitting cross legged pose: Have the front row sit cross legged on the ground, one hand goes on each knee.
- Front row both knees down pose: Have the front row go down on both knees, and sit up nice and tall, not sitting on their feet. Hands go behind their back.
- Front row one knee down pose: If you are doing the one knee down pose, here is the easiest way I have found to do it. Have the front row go down on both knees,sitting up nice and tall, not on their feet. Next, tell the front row to raise their right hand (not everyone will raise their right, and you will need to correct them.) Now tell them to pat their right leg and bring it out straight in front of them. Now have them place their right hand on their knee, and their left hand over top of the right hand. Backs should be nice and straight.
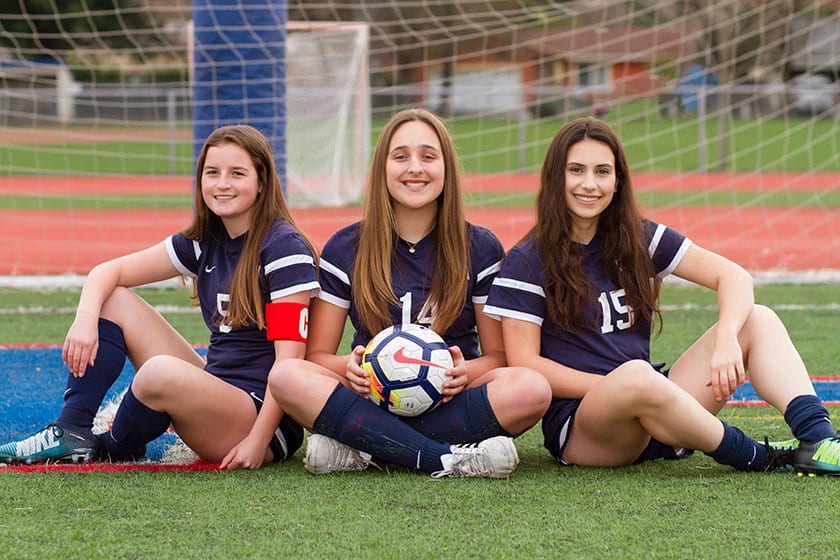
9. Posing the second row of players.
With your front row set up, now it’s time to move the back row of players up as close as you can to the front row, remember to move them into the windows you created for them. If the front row is down on one knee, you can move the back row really close by having them straddle the legs of the front row. Everyone should be standing up nice and tall, hands behind their back.
Now that both rows of players are in position, it’s time to pose the coaches.
10. Posing the coaches.
Just like with the players, you want to create a pyramid effect with the coaches, placing the taller ones in the center and shorter ones to the side. Place the coaches in the windows created by the back row, sometimes you may need to have a space between each coach depending on the size of the players and coaches. Once they are in position, hands go behind the back, everyone standing up nice and tall.
11. Posing for bigger teams where 3 or more rows are needed.
To create 3 rows of players, have the first row sit cross legged on the ground. The second row will be on both knees in the windows created by the first row. The final row will be standing in the windows created by the second row.
The final checklist before clicking the shutter.
Front Row
- Is everyone down on the same knee?
- Does everyone have both hands on their knee?
- Is everyone sitting up nice and tall, not sitting back on their feet?
- Is the line nice and straight, shoulder to shoulder?
Back Row and Coaches
- Is everyone standing up nice and tall?
- Is everyone standing in their window?
- Is the line nice and straight, shoulder to shoulder?
- Can everyone be seen?
- Does everyone have their hands behind their backs?
Everyone
- Does everyone have the same color of jersey on?
- Is everyone’s shirt the same, tucked in or out?
- For baseball and softball, does everyone have a hat on?
Pro Tip: Always take at least two shots of the team photo. Inevitably, someone will blink and it’s best to ‘cover the bases’!
Download this free checklist and chart to use as guides for your next sports team shoot!


