How to use natural light in photography.
November 24th, 2021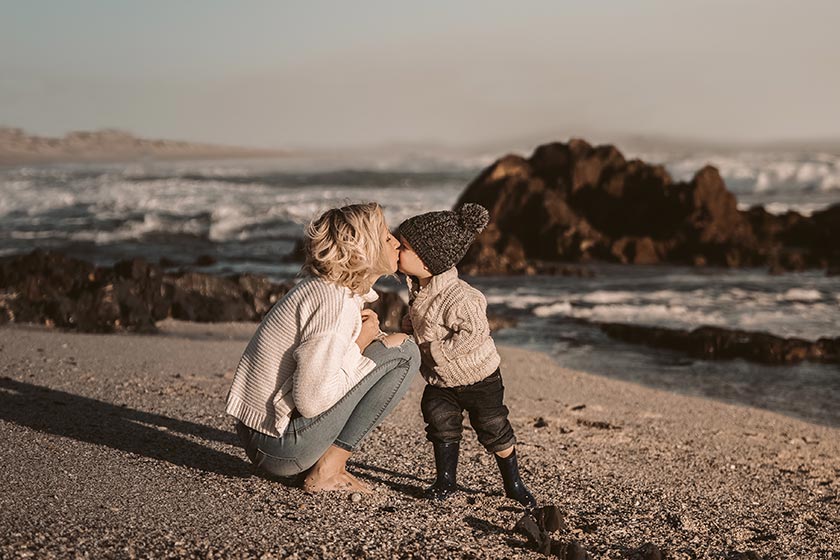
Light is one of the most important factors in creating a photo. Sure, it determines how light or dark a photo is and how much detail can be seen, but it also has an extraordinary ability to elicit emotions. Lighting affects a photo’s overall mood and tone, which means it plays a huge role in the way your photos are perceived.
There are two main types of lighting in photography: natural light and artificial light. Natural light refers to any light created by the sun, whereas artificial light refers to any other sources of light that photographers might use (think flash, studio lights, lamps, etc).
Both types of lighting have their pros and cons. Artificial light can be controlled, but it can require purchasing and lug around costly and heavy equipment, or dealing with finding the right Kelvin setting to work with that lamp in your client’s home. Natural light can require a lot of planning ahead; there’s also no guarantee whether you’ll have that perfectly sunny golden hour or the softer diffuse light of an overcast sky. Used correctly, either light can make your photos feel more authentic.
While it’s great to master both types of lighting to enhance your photography, natural light is abundantly available and can evoke an emotional response that is harder to recreate with artificial light sources. It can also make your job easier by capturing the ambiance you want in a photo before it ever makes it into your editing software.
Better yet? It’s free!
So how do you go about harnessing all that natural light has to offer? Here’s what you need to know to become a natural light photography pro.
Basic camera settings you need to know for natural light photography
When it comes to relying on the sun for light, what you see is what you get. You may not be able to control how bright the sun decides to shine on the day of a shoot, but there are a few camera settings that allow you to make adjustments to your photos.
Aperture
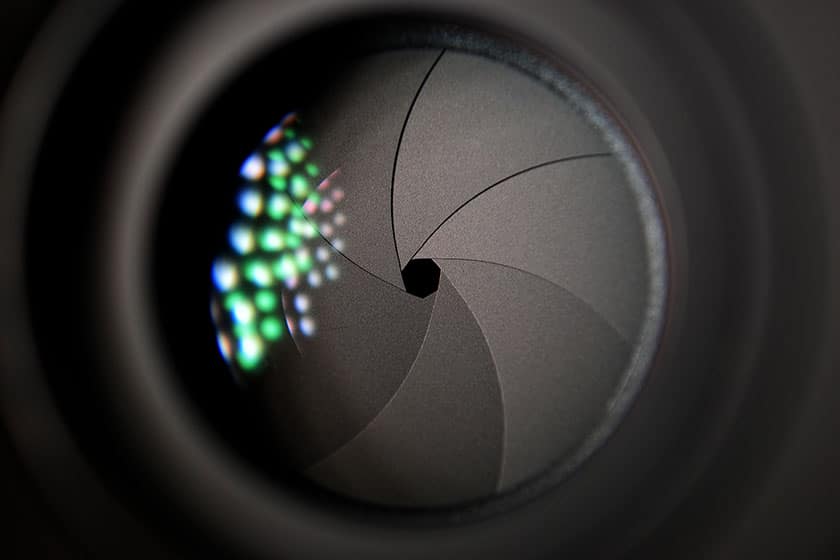
The aperture is the opening in your camera’s lens that allows light to pass through to its sensor. By adjusting the size of that opening, you can control how much natural light floods in as you take a photo.
Larger aperture values allow more light to reach the sensor, which in turn creates a brighter photo. This can be helpful when shooting in darker settings, such as in the evening or in a shadowy area. Smaller aperture values let in less light and result in darker photographs, which can be useful when shooting on a bright, sunny day.
Shutter speed
Another camera setting that affects natural light photography is shutter speed. A camera’s shutter is a device that opens and closes over its lens and allows light to reach its sensor. Shutter speed refers to how quickly the shutter opens and closes, which controls the amount of time light is captured.
The faster your shutter speed, the less amount of time light has to enter your camera’s lens, resulting in darker images. Conversely, when your shutter speed is slower, there’s more time for light to reach your sensor, which means your photos will be brighter.
ISO
The final tool in this trifecta is your ISO settings. Similar to classic film speeds, your camera body can be set to different ISO, which affects how sensitive your camera is to light. Basically, the higher the ISO, the more grainy the image and the easier it is to photograph in low light conditions. While a smaller number like 100 can be great at noon on a sunny day, you could push the ISO up to 3200 around dusk.
Aperture, shutter speed, and ISO can all be adjusted by setting your camera to manual mode. These settings work hand-in-hand to control your photo’s exposure, which is the overall brightness and amount of detail captured in both the highlights (think white dresses and clouds) and the shadows. It’s a good idea to practice using different combinations to see how each setting affects your photos and works best to create your artistic vision.
How to shoot in different conditions
In any outdoor shoot, you’ll have to work with what you’re given. The amount of natural light that’s available and the ways it affects your photos will depend on the weather.
Overcast or rainy
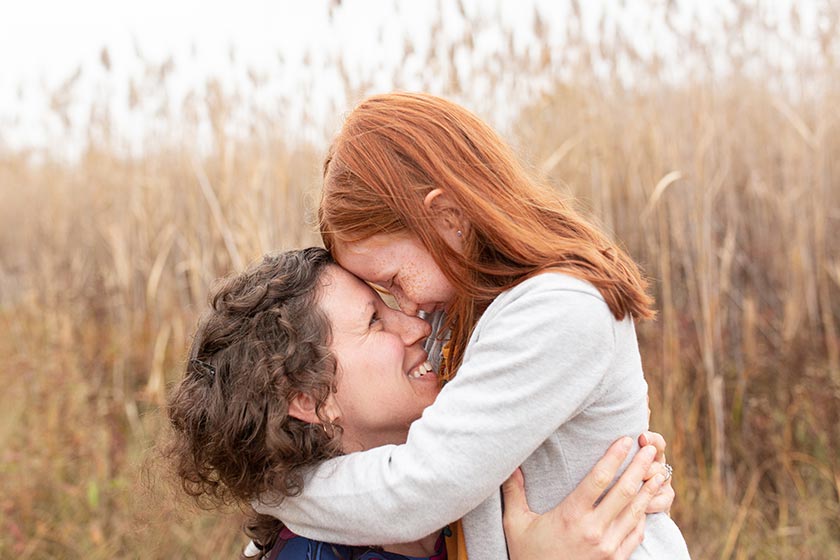
A lot of beginner photographers mistakenly think they won’t be able to achieve good photos when it’s cloudy or raining, but it’s often easier to shoot on an overcast day because of the softer natural lighting it creates. It can also create more moody or interesting photos.
Bright and sunny
When shooting outdoors on a sunny day, you may have to get creative with the positioning of your subject based on the direction from which the light is coming. For example, you can position them to where the sunlight is shining directly on their face to reduce shadows. If the natural lighting is too harsh for a front-lit photo, try positioning them so that the light is hitting them from the side, which creates depth. You can also achieve a dramatic silhouette look by placing your subject so that the light is shining behind them.
Using windows
To use natural light in an indoor shoot, position your subject in the way that will have the biggest impact. That may mean placing them farther from the window for more even lighting or closer for additional contrast. You can also control the natural light by slightly closing the blinds, using a reflector, or by choosing a window that’s a specific shape or size.
Popular times of the day to shoot
There is little that changes natural lighting more in photography than the time of day. The position of the sun can dramatically change a photo’s color, temperature, exposure, and contrast.
Golden hour
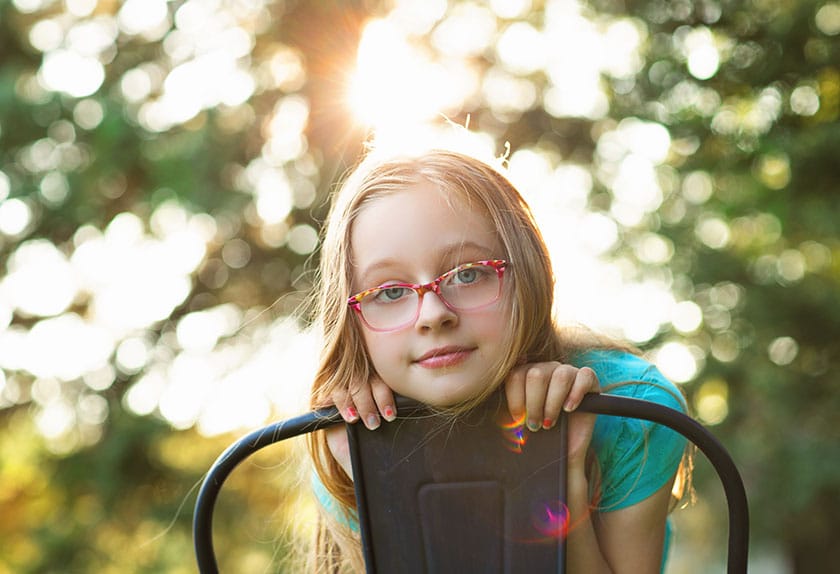
The most popular time for shooting outdoors is during the “golden hour,” which refers to the last hour before sunset and the first hour after sunrise. Both of these times provide a soft, warm, golden light that can naturally enhance your photos. It also allows you to bathe your subjects in light without them needing to squint, as the sunlight is the least intense during these times.
Sunrise vs. Sunset
As far as whether the golden hour is more desirable at sunrise or sunset, that’s up to personal preference and the look you’re trying to achieve. Mornings are more likely to have fog, which can help simplify your photos by blocking out background clutter. There are also typically fewer people out at sunrise, which might open up your location options if you want to shoot in a popular place.
Shooting at sunset is typically more colorful because the sun’s positioning shifts more toward red light versus blue. It can also be more predictable from a weather standpoint if you’re able to watch how the conditions change throughout the day.
Midday
The closer you are to noon in either direction, the harder it’s going to be to achieve good photos. The intensity of the sun and its position overhead can cause unwanted glares, squinting, and unflattering shadows on your subjects, such as under their eyes. For this reason, it’s best to choose a location with open shade or to use an indoor location with windows, when shooting between 9 a.m. and 3 p.m.
Equipment for perfect natural light photography
While natural light photography doesn’t require you to lug around heavy lamps, there are a few pieces of photography equipment that can make your job easier.
Tripod
A handy tool for some photography types, a tripod limits unwanted camera movement during shooting, helping to prevent photos from turning out blurry in any lighting. While not always ideal for photographing weddings or family sessions, as those genres involve chasing your clients around, tripods can be especially helpful for product photography. They will keep your framing and lighting consistent while you make adjustments to the products since the camera will be securely in place.
Reflector
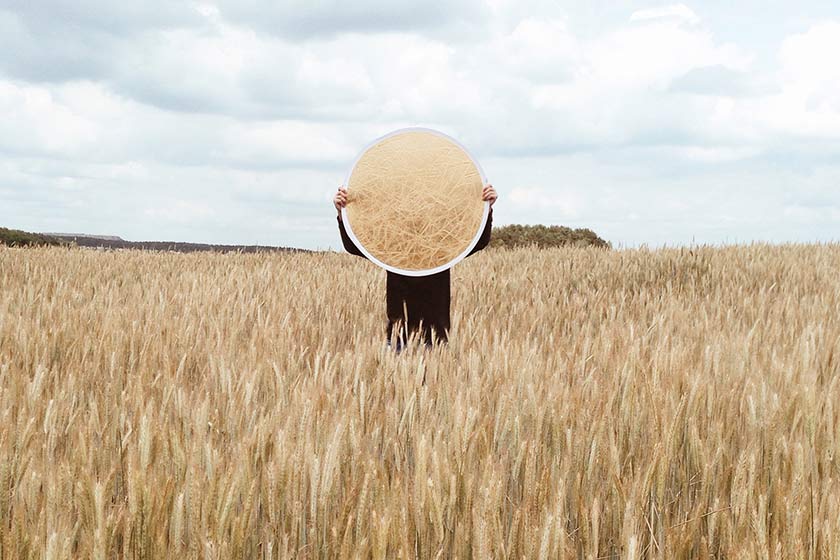
A reflector is a surface that can be used to redirect natural light toward or away from your subject. Most often a white surface, silver, and gold are also commonly available to add warmth or coolness to the light being reflected. Depending on what you’re trying to achieve, a reflector can help fill in or enlarge shadows, block intense light or even serve as your main source of light. It can turn not-so-good lighting into something that is salvageable – and maybe even magical.
Natural light can make or break your photos, which is why it’s important to learn how to use it to your advantage. Mastering natural light photography will help you become a more versatile photographer so you’re prepared to take beautiful photos – no matter what Mother Nature has in store.
Natural light in photography FAQs
Natural light in photography refers to light coming from the sun, whereas artificial light refers to all other light sources such as lamps, stage, flash, and studio lighting.
Natural light has several advantages including its cost (free), beautiful rendering of skin tones, ability to offer cool to warm tones by the time of day, and its inherent authentic look. Natural light is also suitable for a variety of photoshoot types including fashion and portrait photography.
There are some LED lights that replicate the brightness and color temperature of natural light. These lights are often marketed to photographers as daylights or sun lights. While these lights can match what would be expected from natural light, placing these artificial light sources can require some patience to achieve the desired effect.
In addition to the many benefits of using natural light, there are drawbacks for the photographer, too. First, natural light isn’t nearly as reliable a lighting source as artificial lighting. A cloudy day, for example, may ruin a shot planned to be made under clear skies. Second, the color tones of the sun change throughout the course of the day. If a subject isn’t on time (or difficult to deal with), the lighting may change to a point where it no longer achieves the desired mood. Finally, natural lighting can limit the shutter speeds and apertures available for a photographer to use.

