Travel Photography Tips and Tricks: Capturing Stunning Images like a Pro with Laura Grier
June 13th, 2023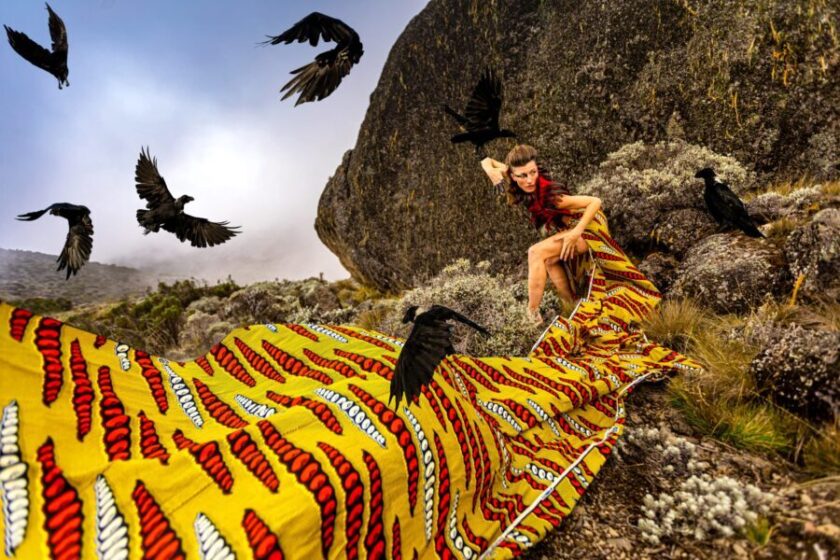
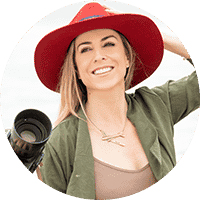
Laura Grier has spent the past 22 years working as a photojournalist on all seven continents and made a life out of exploring the world, capturing and writing about her experiences. We recently had the pleasure of sitting down with this inspiring photographer and long-time Zenfolio Ambassador to discuss her tips for getting started in travel photography. In part two of this interview, Laura shares her best creative and compositional tips and her favorite products for selling fine art prints.
An adventure travel photojournalist, Laura shoots for the National Geographic Artisan Catalog. She also started Andeana Hats, collaborating with the same artisans she’s been photographing for the last 20 years.
How do you compose shots to make them interesting and dynamic?
It actually goes back to a lot of the techniques that they teach you in photo journalism school.
There were 12 main principles. I’m not going to remember all of them, but a few of them are low angle, high angle. We’re all used to shooting at eye level, but just lay down on the ground or get up high. Changing your angle can completely change the perspective or the feel of the image.
I always just try to remember to think cinematically; if I am shooting a subject close up, what would it look like if I was 50 feet away? What would it look like really, really far away, if they were tiny? Sometimes you have to remind yourself to go far away, up close, down low, or up high and just try to get a different view.
You can also pretend that you have a second shooter with you. Where would they be standing? Try to do the second shooter view after you’re done getting your initial shot just to kind of think outside of your own brain at that moment.
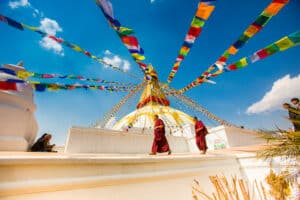
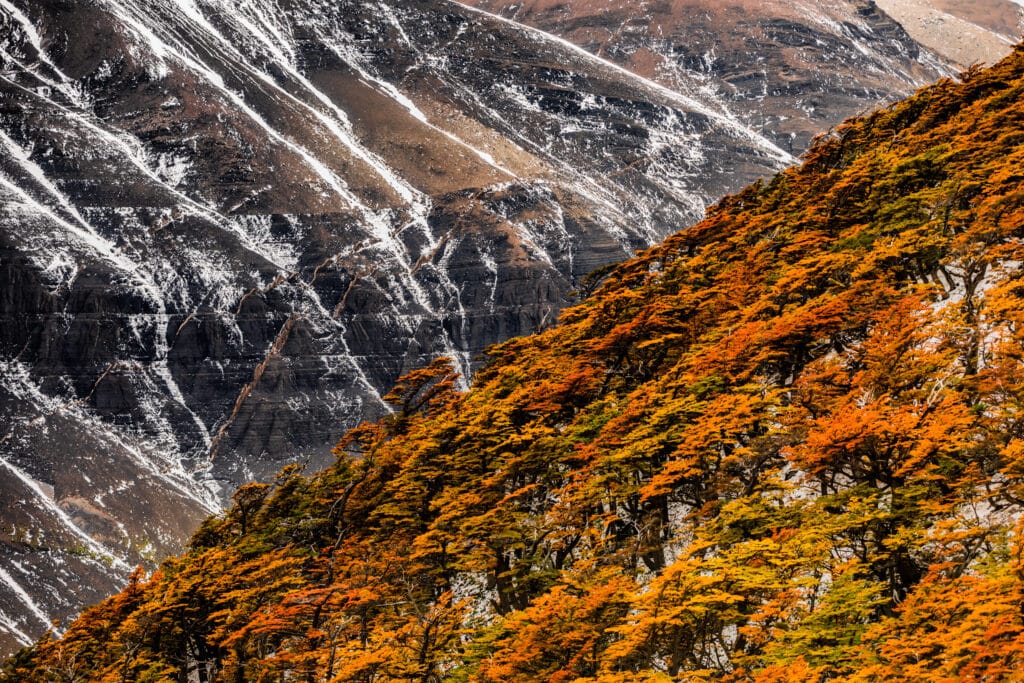
I look for color and for color contrast. So if it’s a bright blue sky, the contrast of blue is going to be yellow or orange. Or green with something red. I’ll look for something that’s really striking, a color that can pop against it.
Then the rule of thirds; Centering things can be really, really beautiful and just very geometrically pleasing and symmetrical. But so can the rule of thirds where you can have the subject just on the left third, or your subject on the right third, that can be really interesting to change the composition that way.
I also shoot through things; finding a fence or a hole or a cave or a tree or trying to find some sort of object that you can frame within your picture will help make it really interesting.
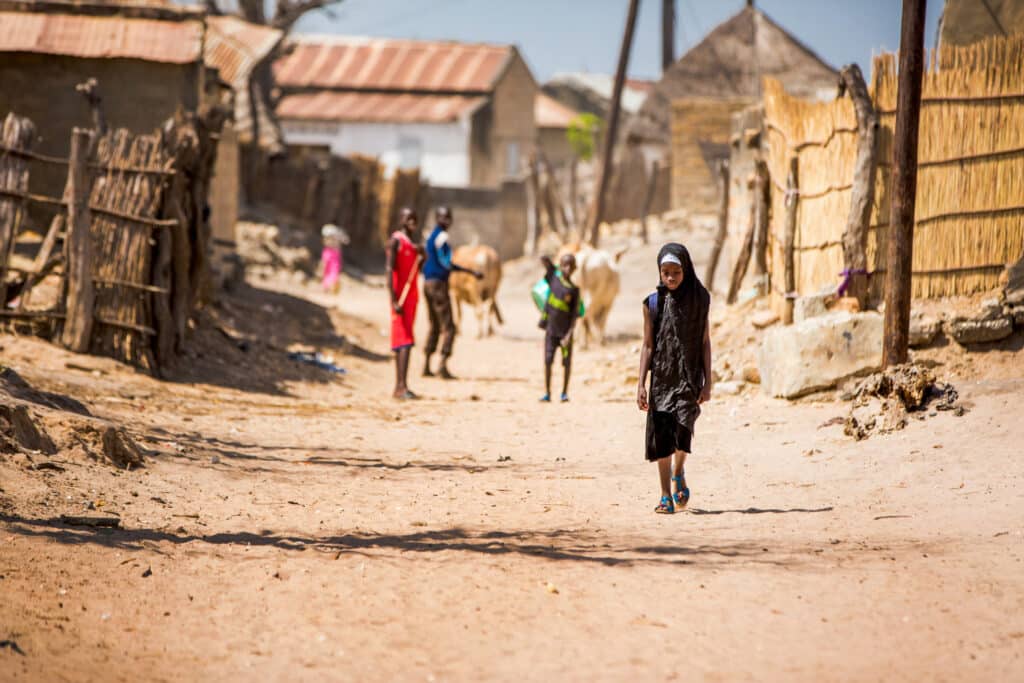
That’s something that they taught in photojournalism school. You had to have a foreground, a middle ground, and a background. If you look at a lot of Nat Geo shots, you’ll see that there’s a person blurry in the foreground. Maybe they’re protesting and then the main subject that’s in focus is in the middle ground, and the background is some epic scenery. They always set the shot up with multiple layers like that, it adds more depth and story to the image.
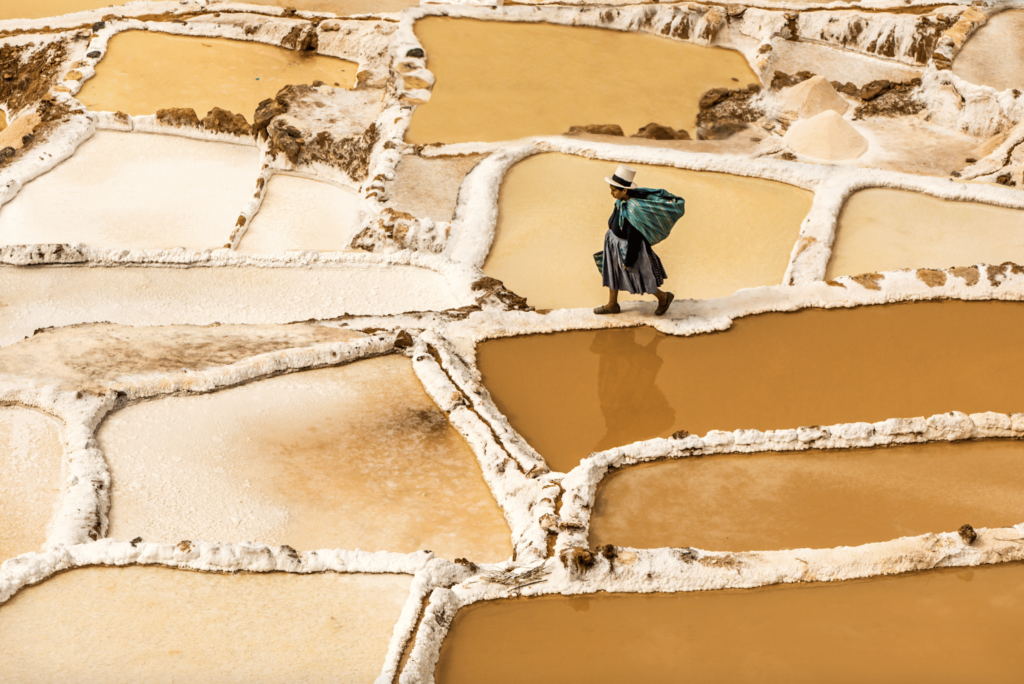
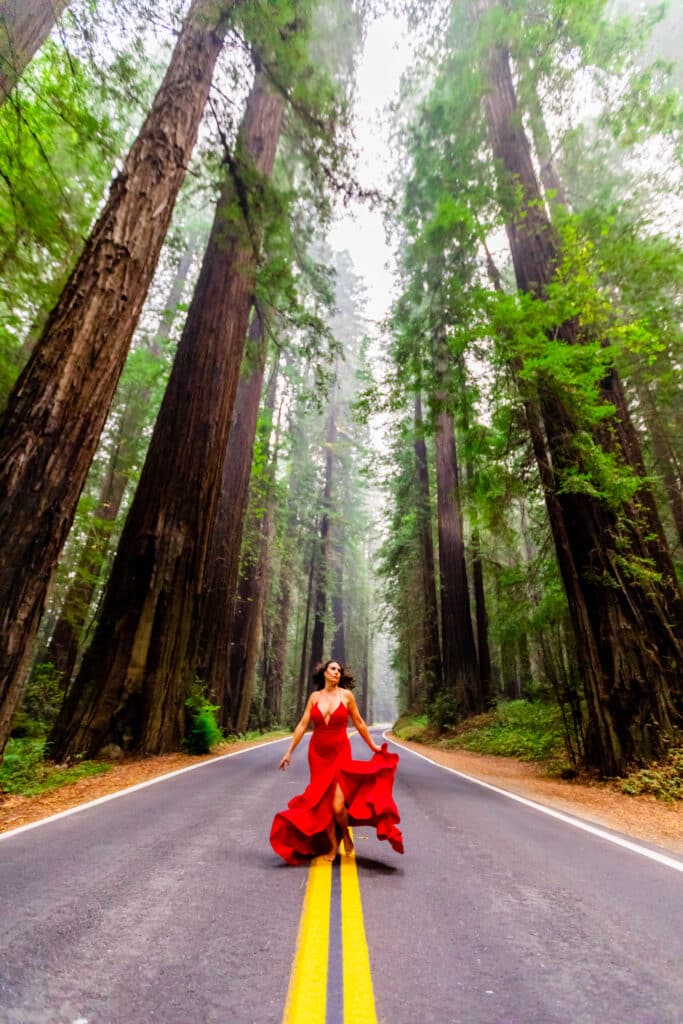
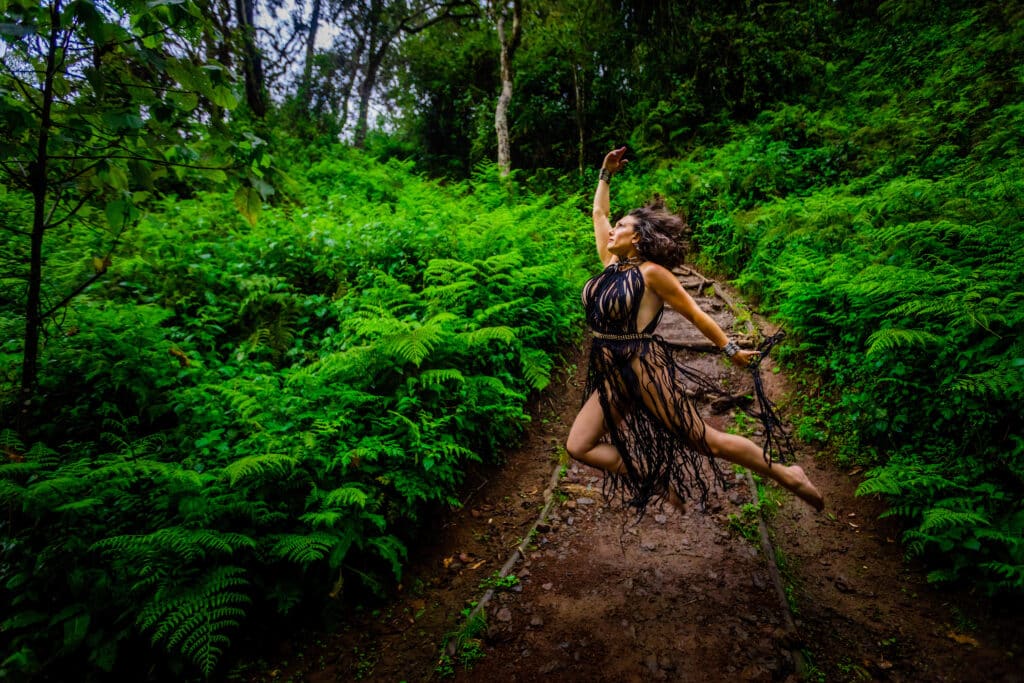
Another thing is patterns. Looking for patterns and repetition is really striking and will catch your eye. I love using leading lines where you see the perspective of a building is going to lead right into your subject. Or when I do my goddess shoots and I have a big piece of fabric that I attach to someone’s dress, instead of that dress being off to the side, I grab it and pull it towards me.
Sometimes you’re using all the things I talked about. You might be using four concepts in one picture. You might be using patterns, color leading lines, low angle. Sometimes you might be photographing something that’s not that exciting, but if you choose to shoot it in an interesting way, you can make the images more exciting.
Free Download: Laura’s Shot List
Download Laura’s travel photography shot list to help you create stunning, photojournalistic images on your next photography adventure.
Do you edit your own images?
Yes, I do. I love editing my own work. I think it’s my special sauce. I love using Lightroom. But I’m not going to lie, I just discovered Imagen AI recently and it was a game changer. More so for my events, because for me it’s really fun to edit my travel stuff and to edit my portraits of people, but editing event coverage takes a lot of time and it isn’t necessarily the most exciting. You can batch process, just send all your images and within an hour it edits them for you in the way that it thinks you want to edit. I just started using them this year in the last four months. It’s been a game changer.
Cheryl: I know we could do at least one whole webinar on editing, and actually Laura did a PPA webinar with Zenfolio a few months back. So if you’re a PPA member, you can find that on their site recorded where she went in and edited a bunch of beautiful photos to show exactly what she’s talking about, making them pop.
Laura: That was the first time I ever threw myself under the bus. It was sort of a before and after tutorial; I’ve never shown anybody my raw images. It’s not that they’re horrible, but it doesn’t obviously look like the final product that I create.
What are your top five tips on editing travel photos?
I use [Adobe] Lightroom Classic and I use their filters, especially now. They’ve just in the last few months upgraded all of their masking filters to have subject and background filters, gradient filters, graduated filters, all using AI detection.
I can select the sky in the background with their sky filter and then instantly add a polarizer or a dehaze filter slider on it. You really get those clouds to crunch and come in and be super vibrant and pop. And you can do that with your foreground, you can do it with your subject; if you have a back-lit subject, you can just click on the filter, and choose “subject filter.”
You can have up to four selected people in any photo; it’s smart enough to know the four people and create a separate filter for each. Then you can lighten and darken just those people accordingly, or just the background without the people. For example, you can bring down the background and make it more vibrant without affecting the people in the picture.
That has been a game changer using all of their masking settings. It’s the little dotted circle on the far right top of the tools in Lightroom. If you click on or hover over it, it says masking. That has been part of my “special sauce” using the masking like that.
Then also if I do sharpen anything, I do it in Photoshop. If anything, I actually soften the pixels a little bit because I want to make those nice skin tones.
I think everyone thinks I just pull the saturation all the way up, and that’s what I do. Really, I just add a little bit of contrast, make the darks darker and the lights lighter. When I do that, it automatically makes colors more vibrant.
Cheryl: Masking really comes in handy, too, because you might not want the subject to have the same kind of treatment as your background if you’re playing with saturation or tinting, et cetera. You make the sky more blue, you don’t want your subject to be blue.
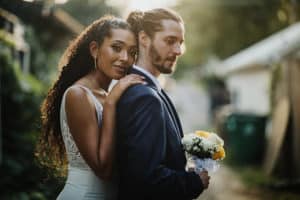
Laura: The masking is great: let’s say you have the bride and groom against a blue sky, and there’s 57 images of them. If you select the sky mask, edit and then sync to batch process all of them, it uses AI to select the sky around the subject in each picture..
Before, you used to have to just do a gradient mask, and then if each image had the horizon a little higher or lower, you’d have to adjust it for each image; it took forever. Now the AI on the masking is insane. It’s really, really amazing. You should definitely try it if you haven’t played around with those masking tools.
Cheryl: Yeah, I learned so much from that last webinar that I went in after and started playing with it, and I couldn’t believe it. It’s not that hard either.
Laura: I’m so excited, that makes me so happy to hear that you did that.
Do you have any rules about exposure when you’re shooting?
I learned by shooting on film and our rule was to overexpose skin at least a stop, sometimes two stops. I always expose for the face of my subject, even if the background goes a lot lighter. I know that I can bring that back in because I’m shooting in raw.
If I’m at a point where I’m blasting out the background, there’s no information, I will choose to expose better for the background; I can always bring the subject out later on. But in general, when I’m shooting, I’m overexposing a stop for the person’s face.
I shoot everything in manual and I usually shoot as wide open as I can with a very low depth of field, f2.8 or whatever is lowest on the lens I’m using. The exceptions are when I’m shooting group shots of people, or a landscape where I want everything in focus, not just the foreground.
I think because I learned on film, I never went into digital photography thinking “I’m going to blast this rapid fire and take 2000 images and hope to get one good one.” That’s just an editing nightmare. I always still pause and look at details; if I see a loose hair on the person or if there’s a leaf on the ground, I walk over and remove it rather than thinking “I’ll just fix it in Photoshop later,” because I don’t want to fix it in Photoshop later. I don’t want to take the time to do that.
I’m still in the mindset as if we were shooting film, and if every exposure costs me money, which it did back then, you’re going to do it right in camera. Those are usually my rules, but it’s amazing what you can bring back from, from life on raw.
What are your favorite labs and products for art prints?
Zenfolio obviously does a lot of my printing and for that I use MPix and BayPhoto. They’re great for my prints up to 24” by 36”.
For my super large format stuff, I use Marco Fine Arts and they’re incredible. Similarly to MPix and Bayphoto, you can print on metal, print on acrylic, include framing, and they can do it in really large formats.
My new jam is metal, matte metal specifically. All the artwork at my house is acrylic because it was stuff I had printed for this one gallery show. I have huge windows in my house, so it has a lot of glare.
I did an art gallery show in the Peruvian embassy, which is now living permanently at the Peruvian embassy. We used matte metal and it was amazing; there’s no glare at all. I was worried; I had never printed on metal because I thought it might kill the color or dim it a little bit. And in fact it doesn’t. It’s still really vibrant and beautiful and looks almost like paper. After that, I’m a huge fan of matte metal.
Cheryl: Depending on how big you want to print, both of our USA integrated vendors, Mpix and BayPhoto, offer metal prints in gloss and matte finishes through your Zenfolio account.
Laura: Metal is so much lighter than acrylic, too; it’s a lot easier to hang.
The only caveat is that with acrylic you could tap it and you’re not going to ruin it as easily. If you scratch metal, you’ve scratched it. That’s it. It’s one of those things where you could more easily ding it than some other materials, so it isn’t as good for pieces that you know you’ll need to move often. I haven’t had an issue yet though, it’s been awesome.
When you decide to frame a fine art piece, do you go with a simple frame or something more elaborate?
I’m more minimalist on that, to be honest. Most of my stuff is unframed and it’s full bleed acrylic or metal. When I do frame, I either go to classic black or a natural wood and I usually mat it as well. I go really, really simple and classic when I do.
How can photographers learn from you?
All of my trips create amazing opportunities to come back with an incredible portfolio from [the location]. It’s not hardcore where every day there’s photo instruction. We’ll usually do photo shoots during the day, then at night we can have a discussion over dinner, cover questions people have or exchange thoughts.
I’ll usually do one evening where I’m talking about editing tips and things like that. It’s very relaxed: It’s like going on an epic trip during the day where you’re taking incredible images and having an adventure, then at night having a fireside chat about photography.
The most I ever bring on these trips are 12. It’s usually eight to 12, they’re pretty small.
We can teach on anything; I don’t want people to feel like they’re not good enough, or don’t have good enough equipment to come. I think you can do amazing imagery on any camera that you have, and I want people to be able to enjoy it no matter what level they are.
The upcoming trips will be fall; Guatemala, Peru, and then Iceland will be also probably October, November. Madagascar would most likely be February or March of 2024.
You can also read Laura’s Tips for Making a Living as a Travel Photographer in part one of this two-part blog series.
Where can we see your work?
My main site is www.lauragrier.com; it links out to lauragriertravel.com and my wedding website. The travel and main site both get you to the same information. I just revamped it recently and added some of my prints to Shopify, too.
I have my goddess shoots and my exotic travel portraits and all the fine arts stuff that I do. And yeah, it’s a fun website. I have a lot of my photo stories of a lot of my trips that I’ve done. I curated my favorite 20 plus images from each trip and just put them in the photo stories section; that’s a fun one to go through.
Cheryl: We will be watching your Facebook, Instagram feed, and your website to see all the exciting things that you do next. Thank you for all the tips and advice and sharing your secrets with us.
Thanks for being a Zenfolio ambassador and joining us and supporting the Zenfolio photographer community.
Laura: Thank you guys always. I love Zenfolio and I love telling stories. So anytime; just follow me and I’ll announce all the trips soon. I hope to see some of you then.
Watch our full interview with Laura Grier for more of her professional tips on travel photography.